Two More
Yardley Jones Builds
Page
3
13th August -
Apart from touching up, that's the last coat of paint before varnishing...and
the lamp struts are done! They're a nightmare to do. Not
time-consuming, but fiddly, requiring intense concentration (don't drink
beforehand), because once you've glued them on you've got about 30 seconds to
move them around slightly before the glue sets or you smear dissolved blue
acrylic over the lamp.
Cut down painted
cocktail sticks. Slice them to exactly the right length for the place
theyre going, because the cap isn't 100.00% straight and if you're 1/4 of a
millimetre out the strut won't glue to the underside of the cap. At this
section of the model you want as much support as you can get, because the lamp
assembly's the weakest point.
14th August - I'm not happy with
the edges of my corner posts. I'd hoped to fill up the gaps with contact
adhesive, but it was too patchy so I dived straight in with Polyfilla. It
certainly smoothed things down, but it imparted a kind of "plaster" texture
(naturally) which I suppose makes it look more like the actual
prop...
20th August - Over the last week
or so I've been sanding, repainting, varnishing, gluing on signs, and creating
door handles. All this has been covered in my previous builds, and I'm
doing nothing different here. So finally they are finished (well apart
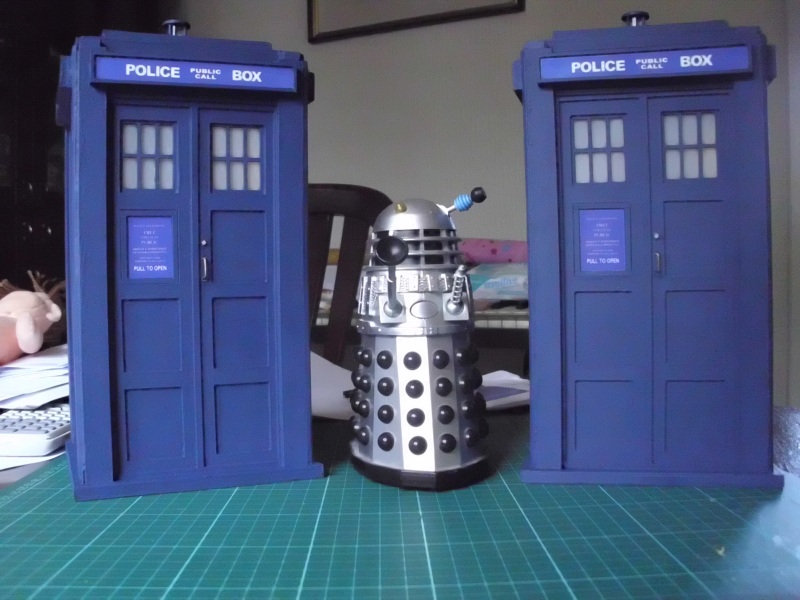
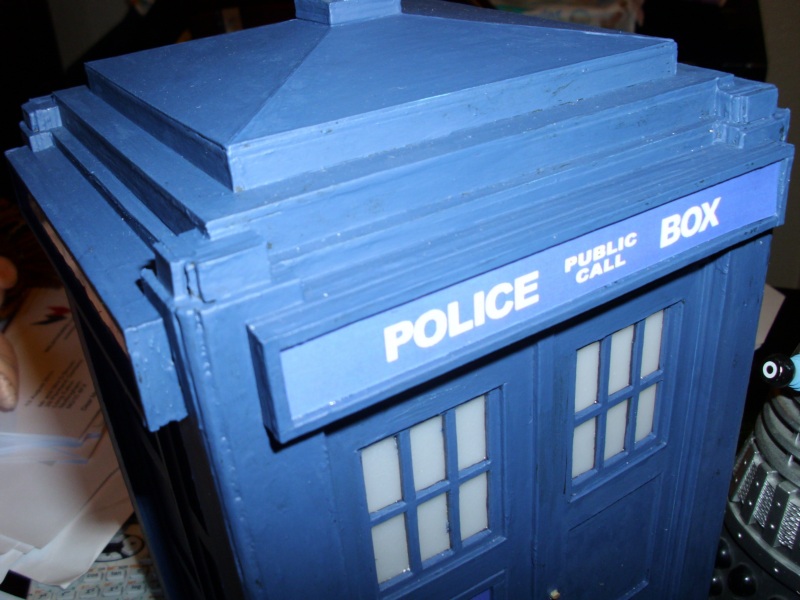
from painting the keyhole). For starters, here's a very confused Dalek!
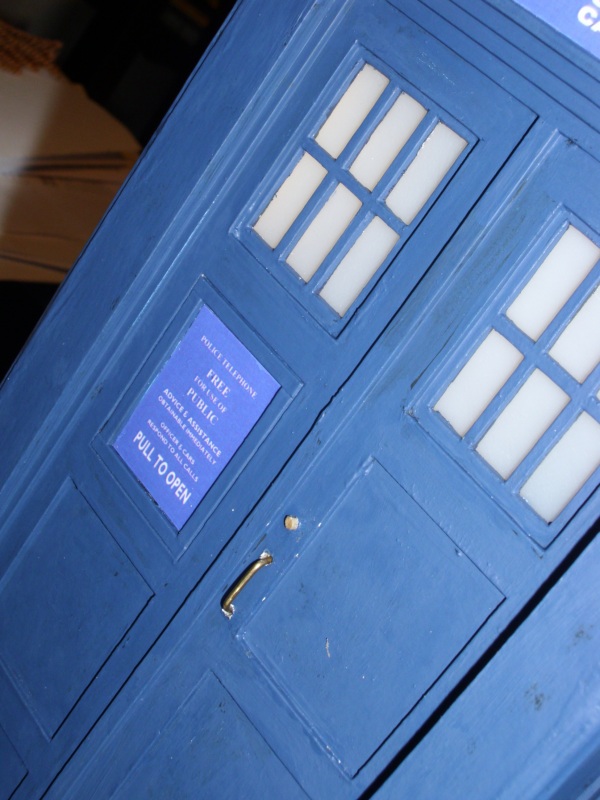
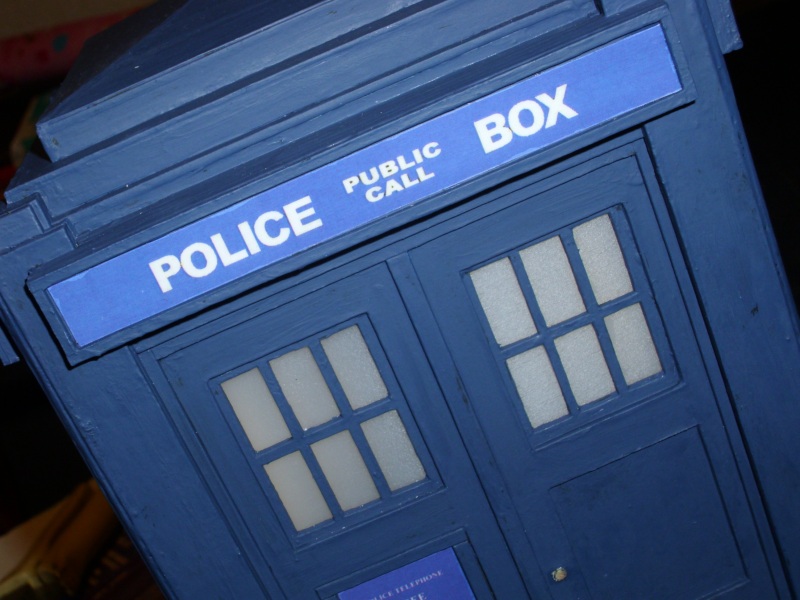
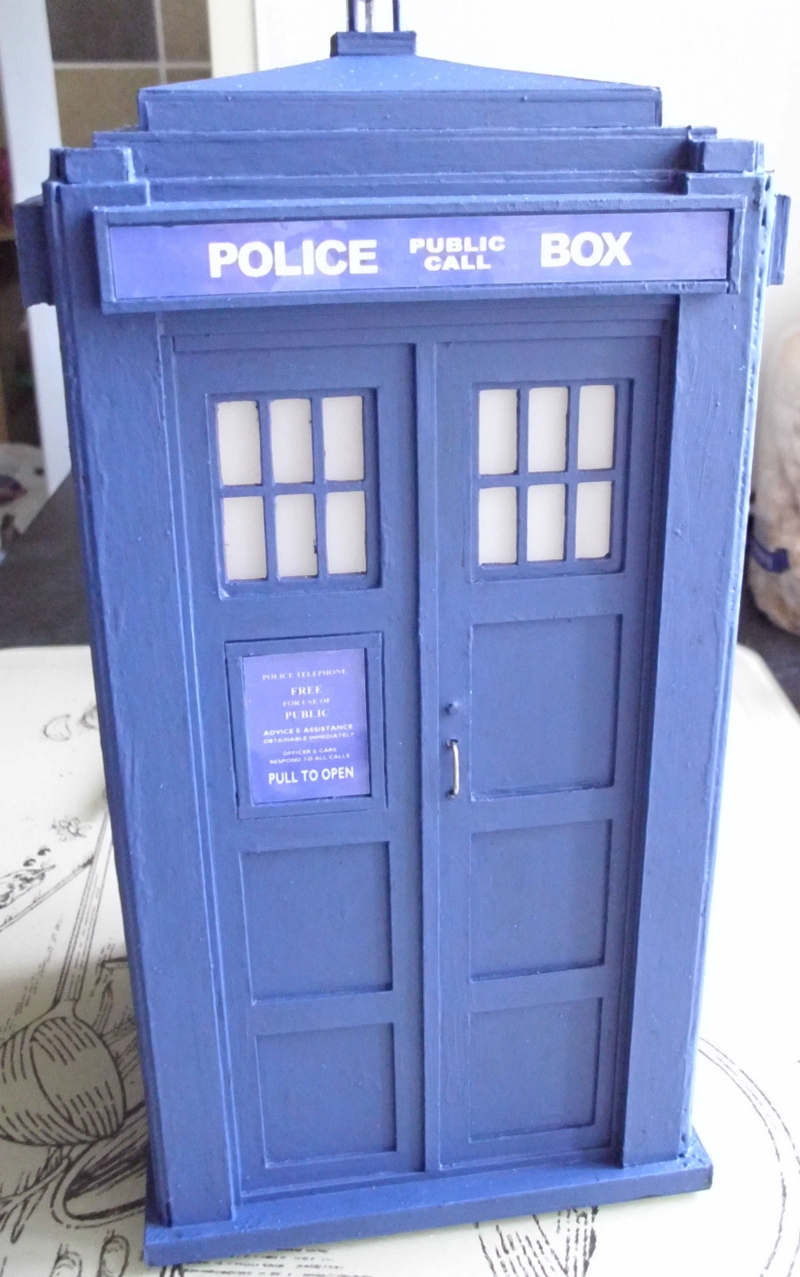
I took great pains to keep the paint as
smooth as possible on the sign boxes and the phone panel and it seems to have
paid off. The signs are stuck on with PVA, and are very smooth and
flat. No bowing or crinkling.
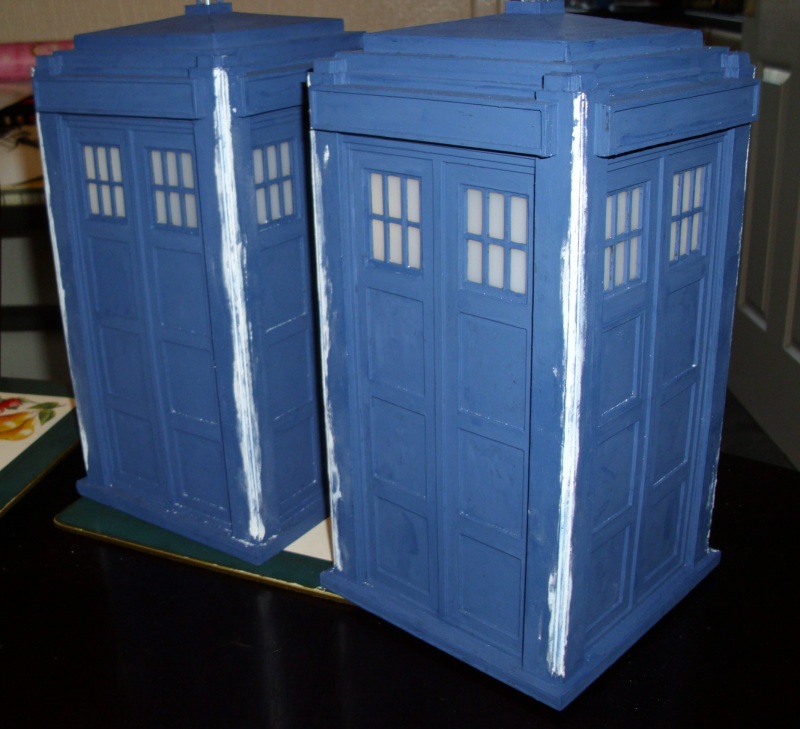
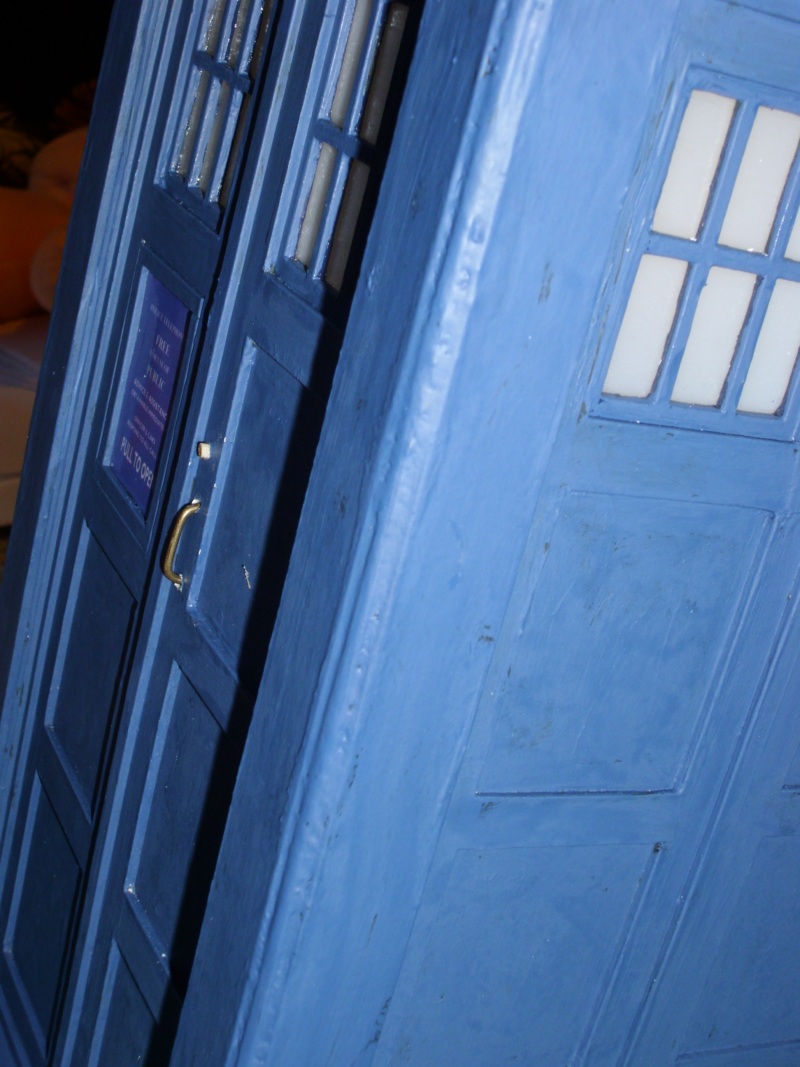
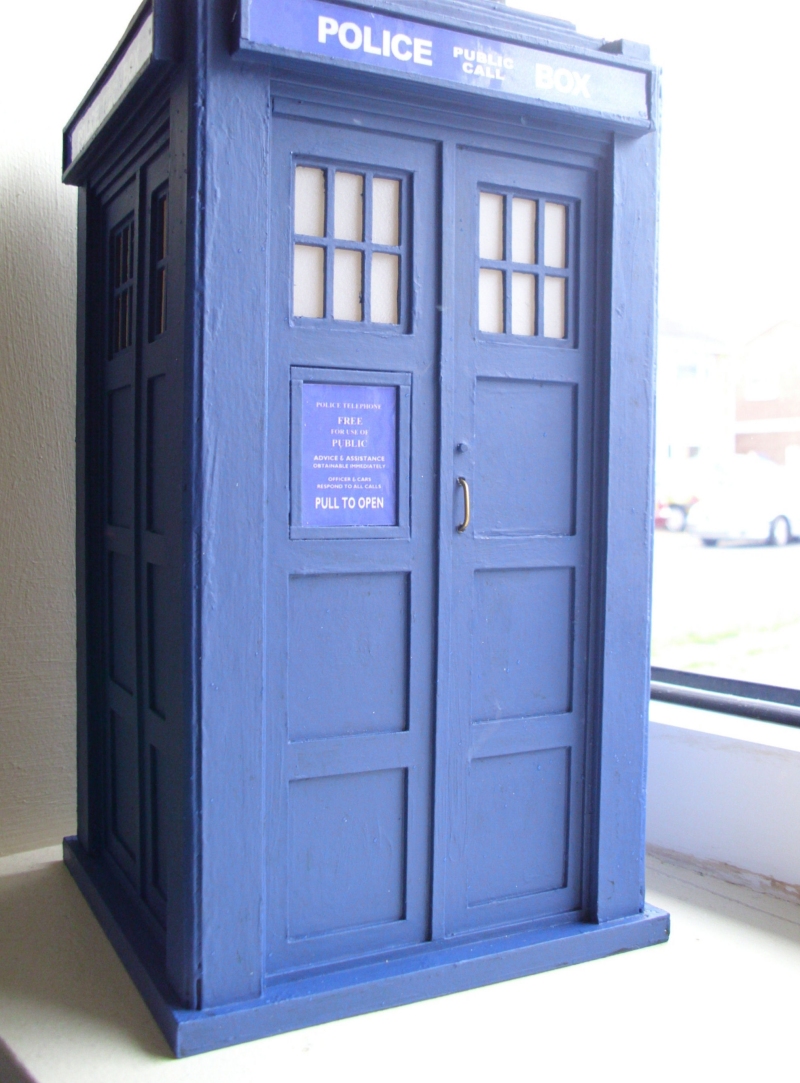
And here's what the corner posts look
like now the filler is painted over. What I've gained by filling the
uneven gaps, I've sort of lost by making the texture of the corner posts a bit
less smooth. That worries me a bit because it kind of contradicts what
this is a model of. The corner post look a bit like they're made
of concrete now, except they can't be because they're not on a copy of a Met
box. They're on a model of a BBC prop. If that prop was made to look
like it was concrete, well and good. But it wasn't. The 80s prop was
much smoother and in better condition than this model. So it's kind of a
bit wrong.
But the hell with it. It was an
experiment in using filler, and the models still look quite good. I must say
that the undercoat of darker sea blue helps to add depth to the Flat Blue
surface coat. The dark shines through in places which makes it somehow
look better.
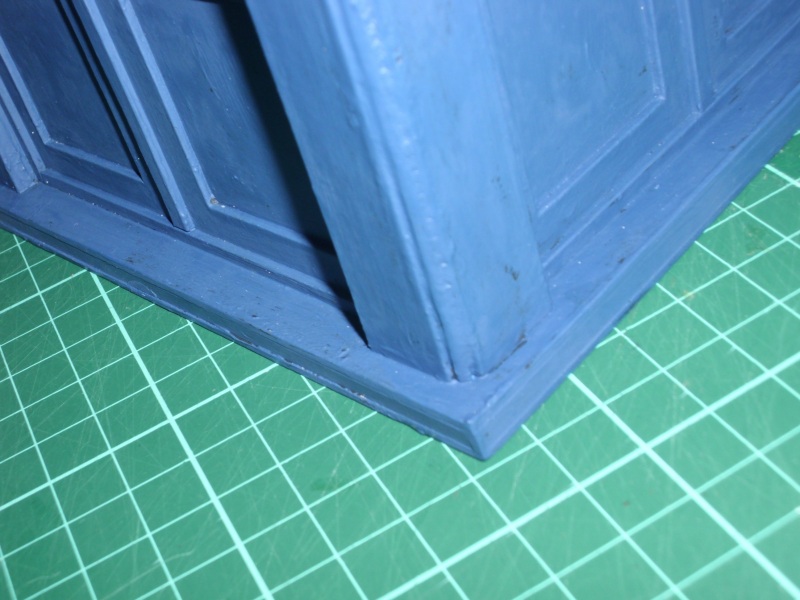
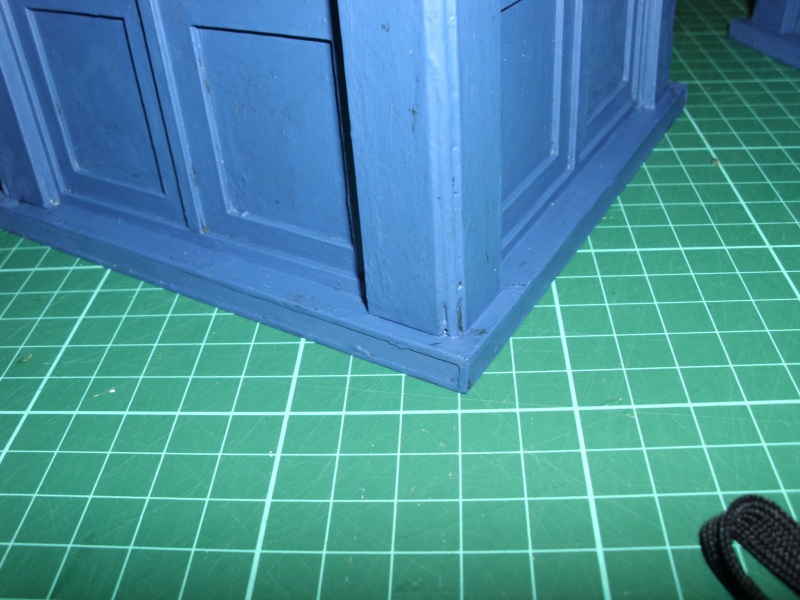
Take a look at these closeups of the
corner posts meeting the base. They look kind of authentically worn,
which means I'm willing to accept the imperfections at the bottom of the
posts. Let's call it damage sustained on film location. Anyway,
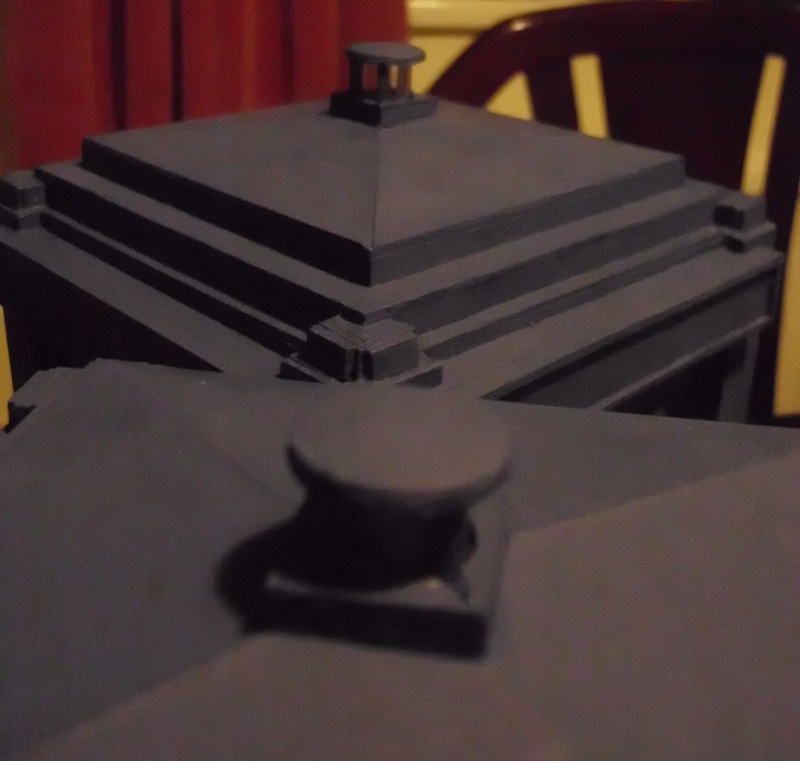
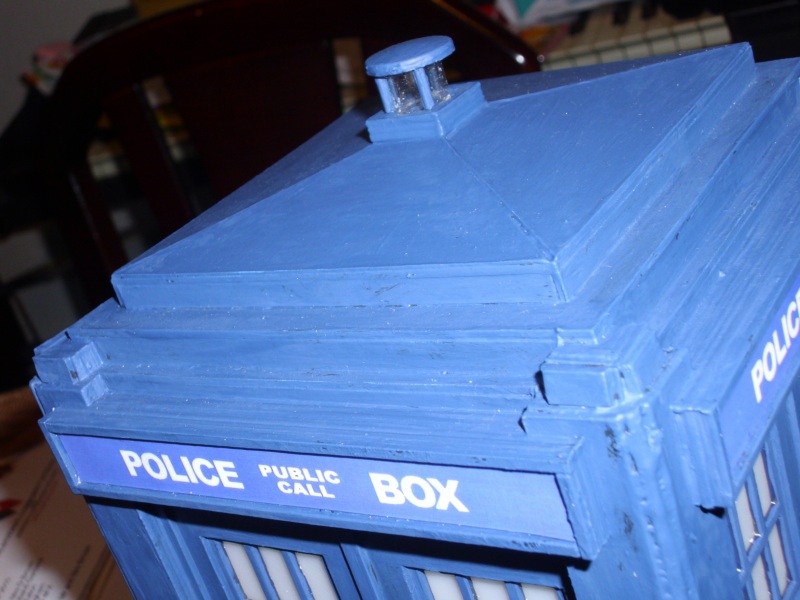
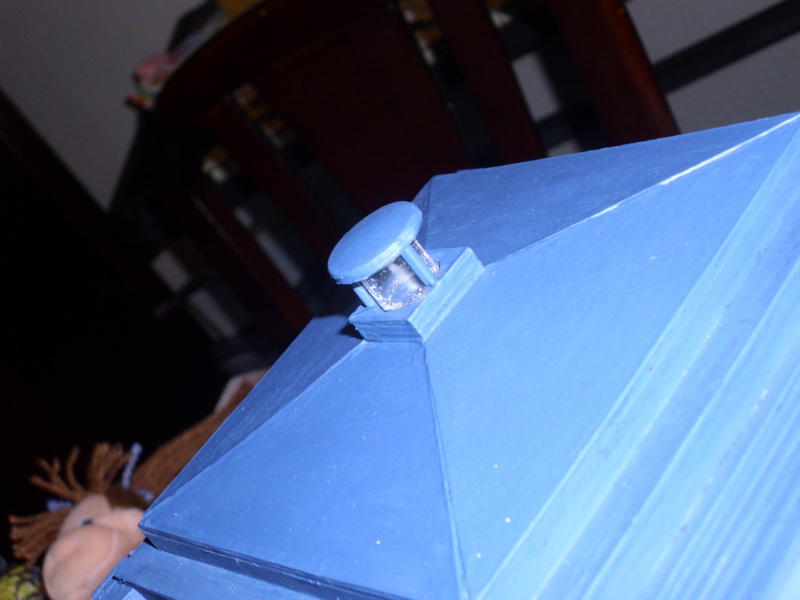
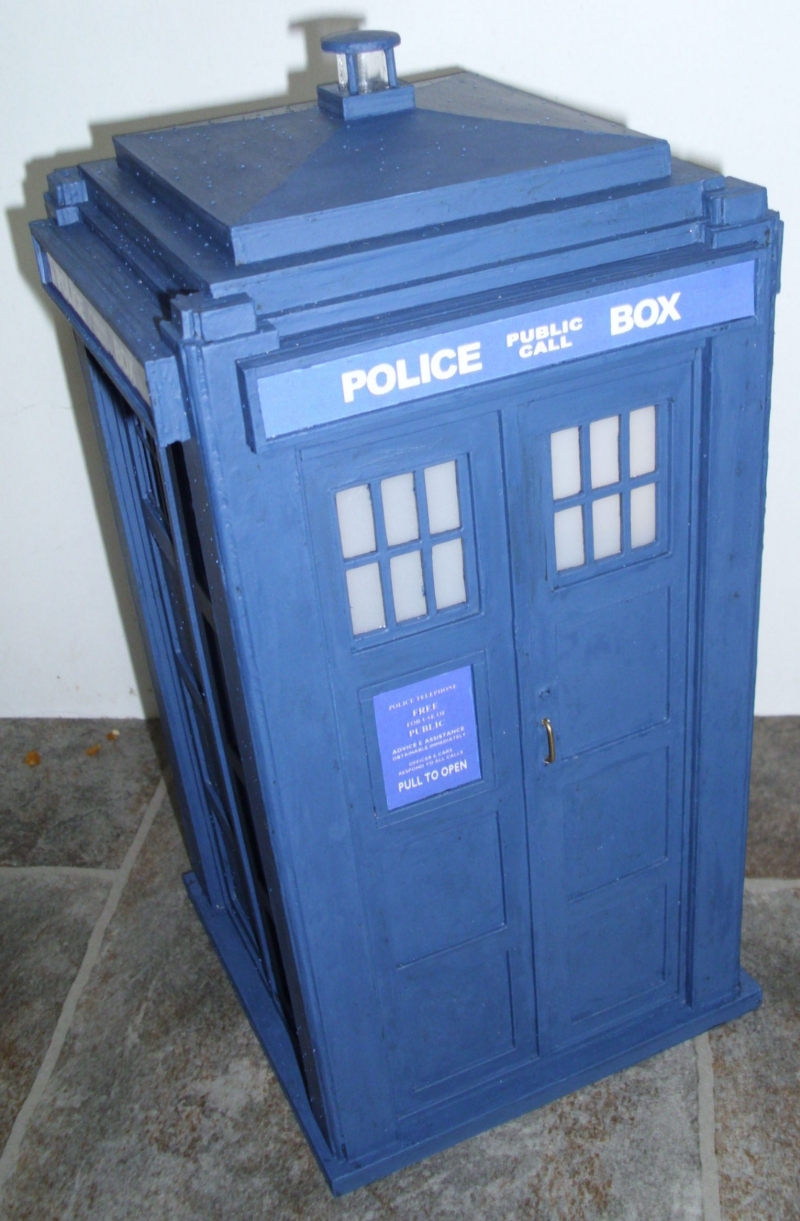
here's a last shot of one of the roofs, complete with 3-support lamp.
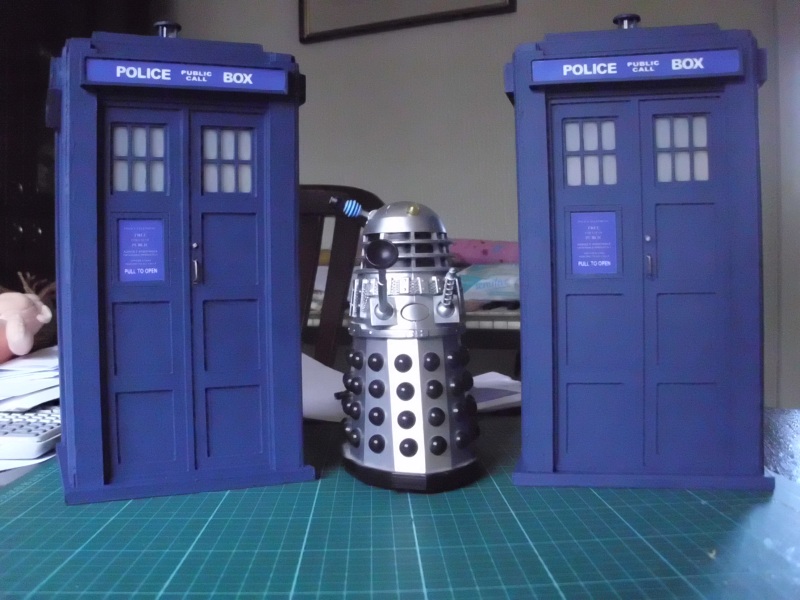
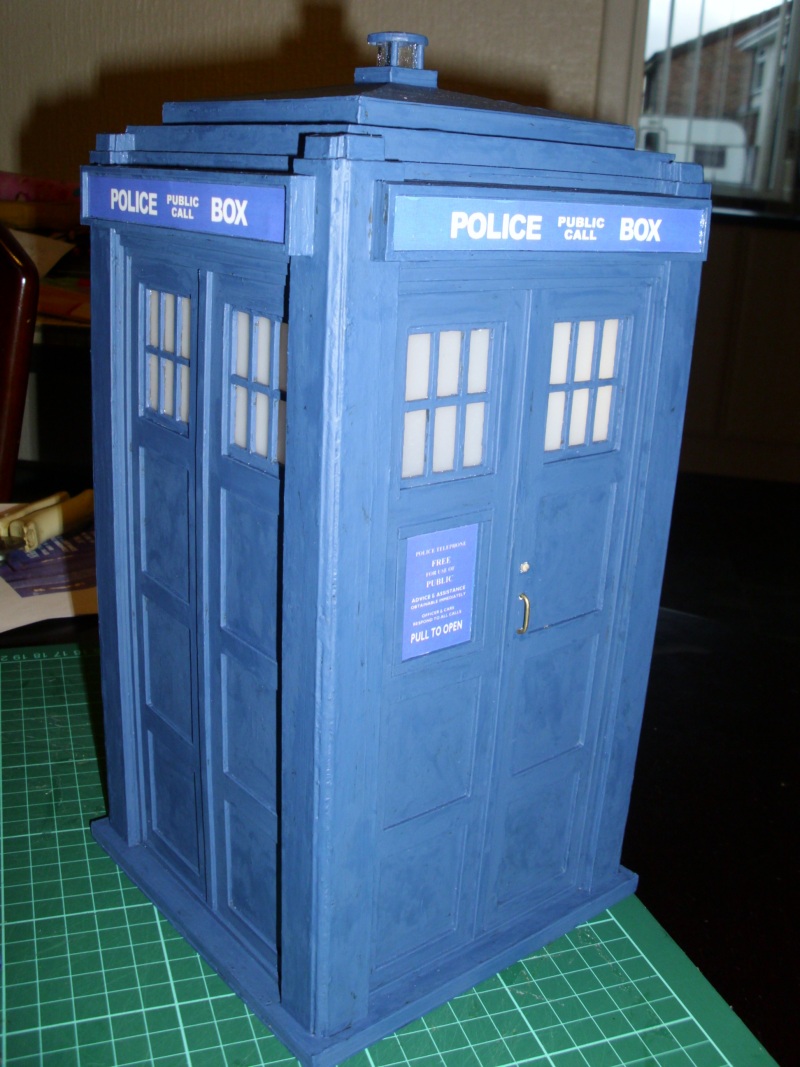
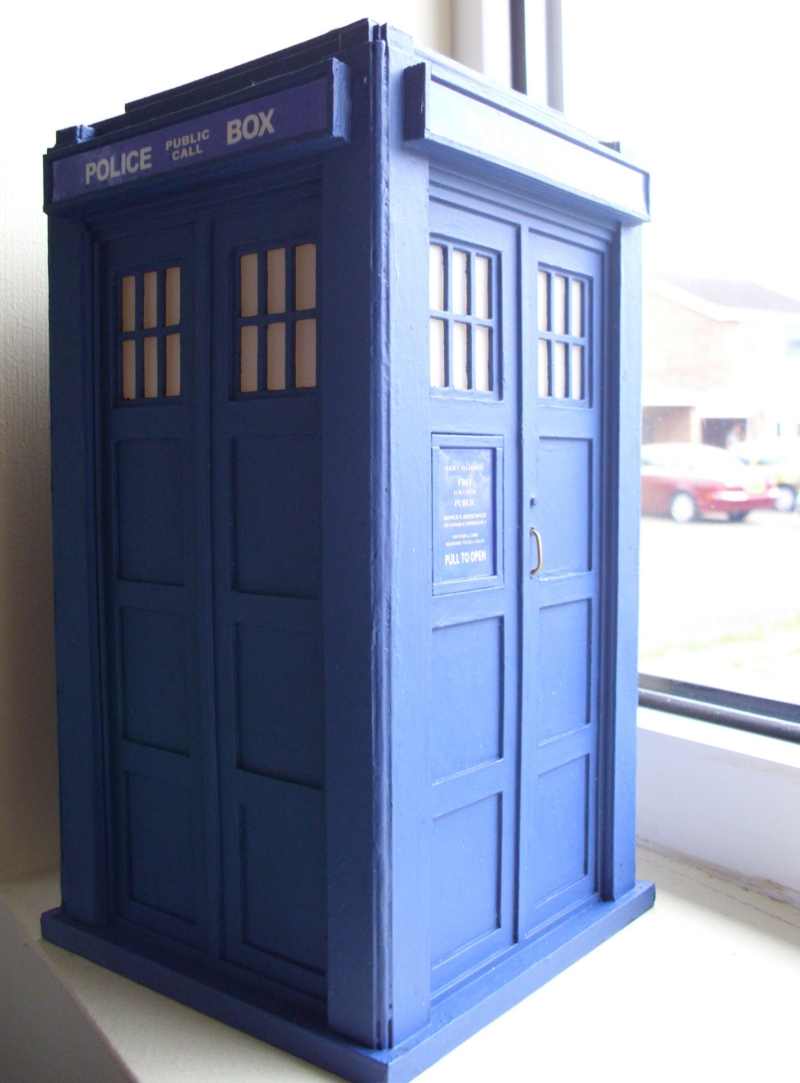
And the final product. Nice.
Oh let's take it out for a few more
shots...
Home Back
This Web Page Created
with PageBreeze Free HTML Editor