Two More
Yardley Jones Builds
Page
2
18th July -
Door-top steps done now.
19th July - Now
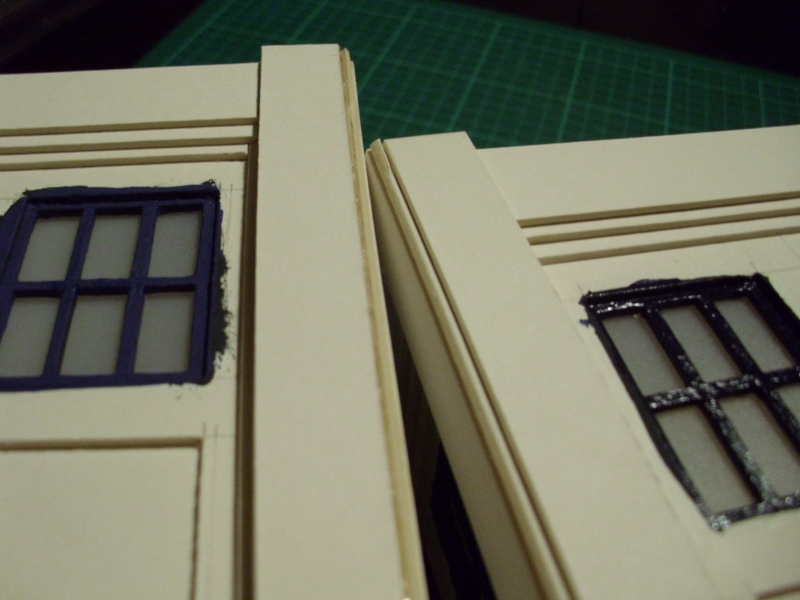
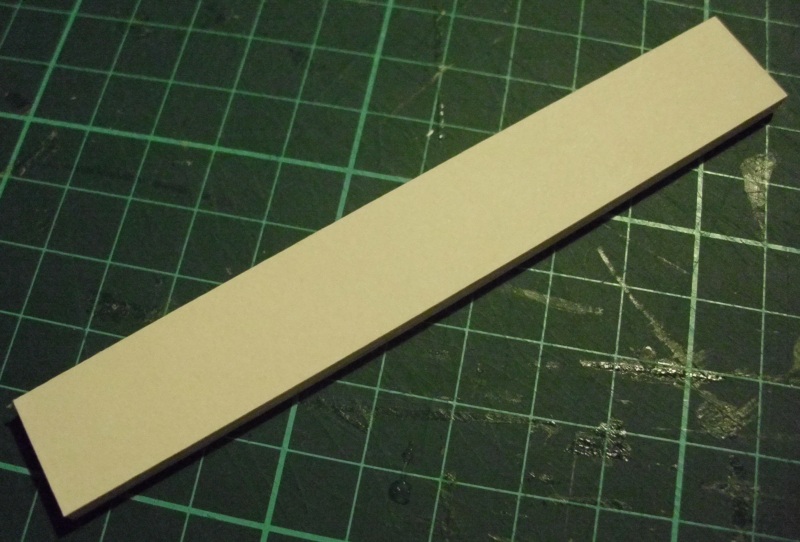
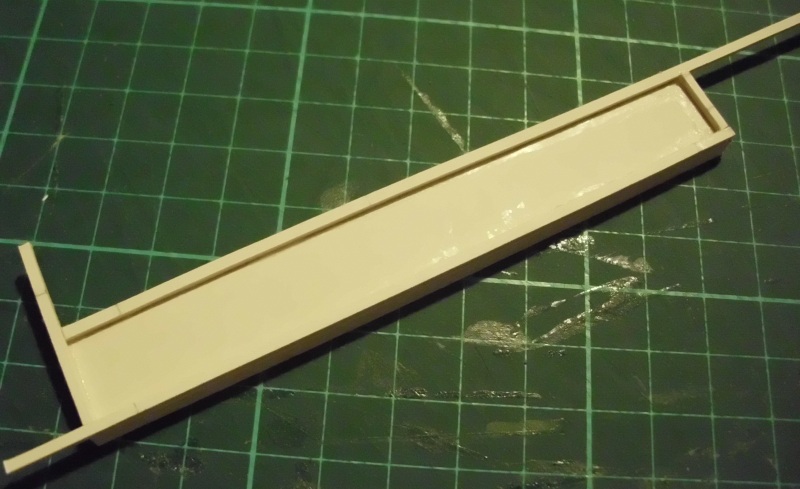
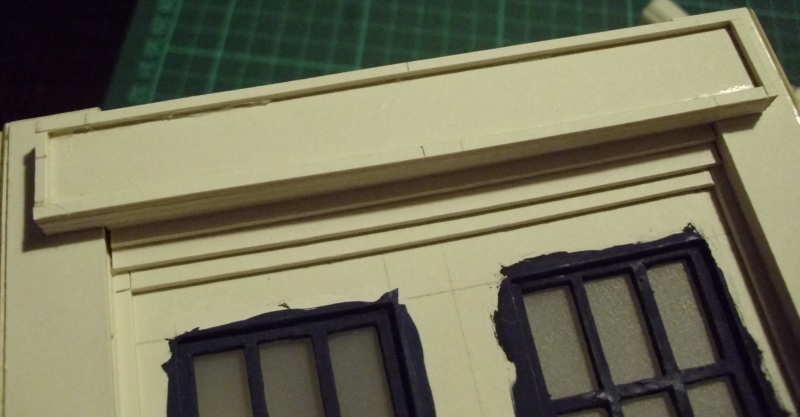
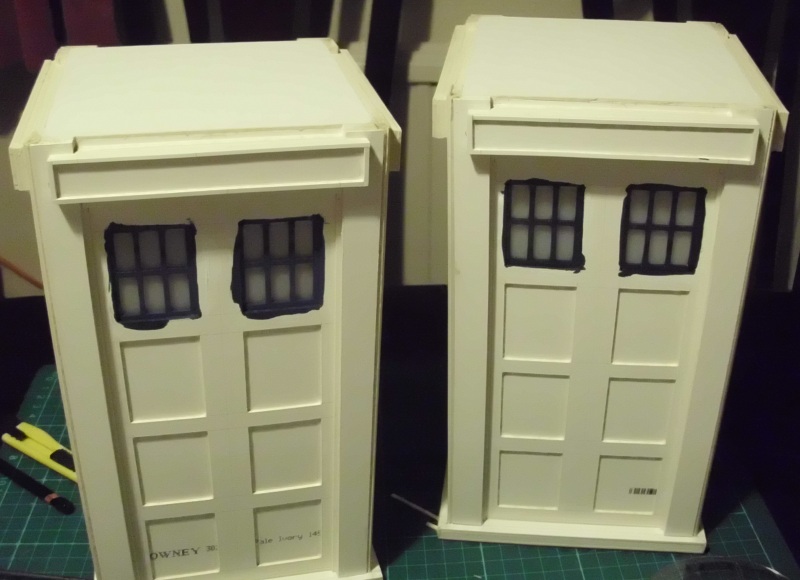
I'm trying something different with the sign boxes here. Still building
them up with layers of card, but instead I'm making the boxes first, then
fixing them onto the model, rather than building the up in situ.
Also I normally build the
sign surround by cutting out the whole shape and then gluing it on. A bit
tedious, and difficult to get straight, so I thought this time I'd just try
fitting four separate strips then gluing the completed sign box straight
on.
Incidentally the sign
boxes are 4x1.5mm thicknesses of card deep (including the
surround).
21st July - All 8
sign boxes on. Next stop - door dividers & roof.
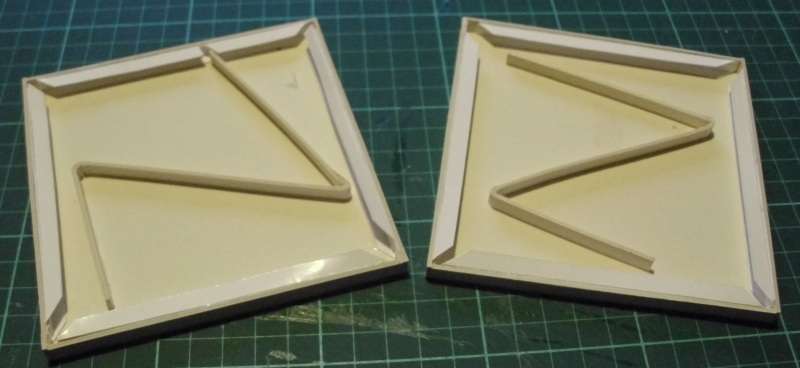
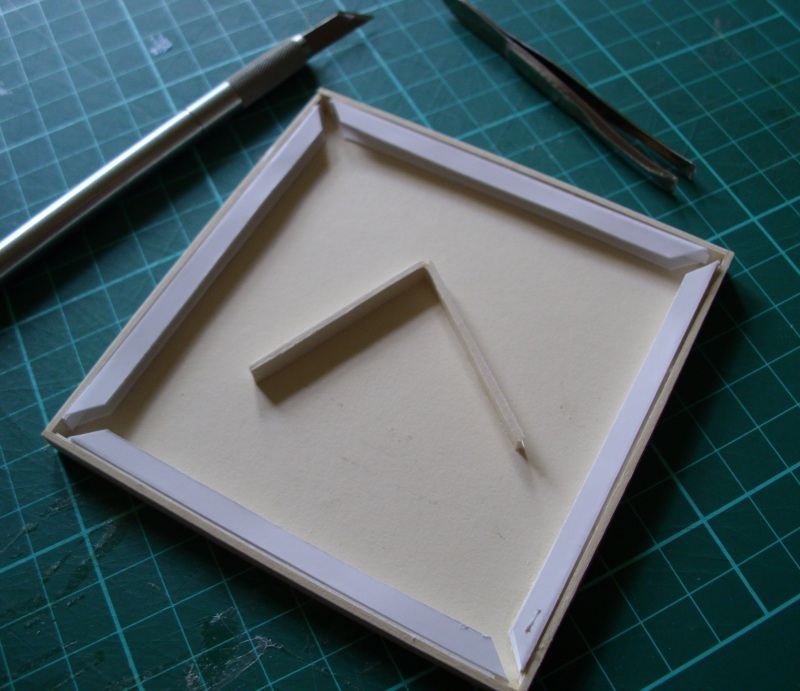
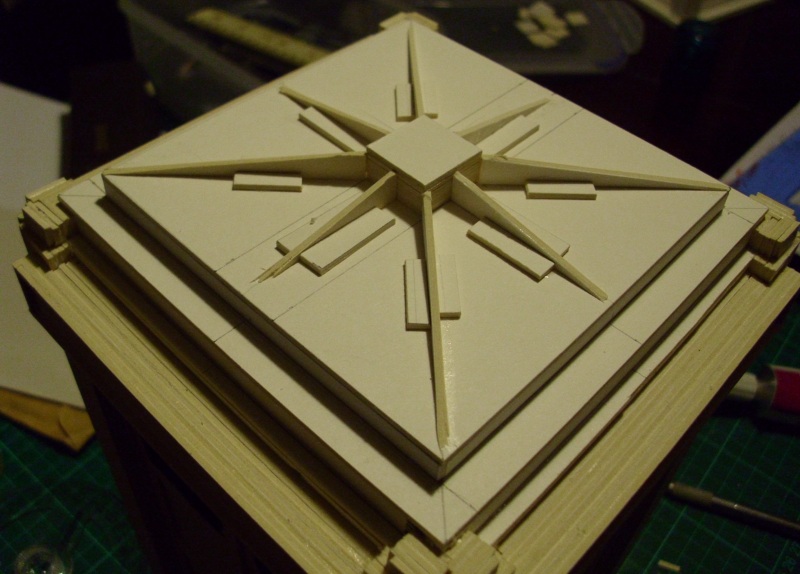
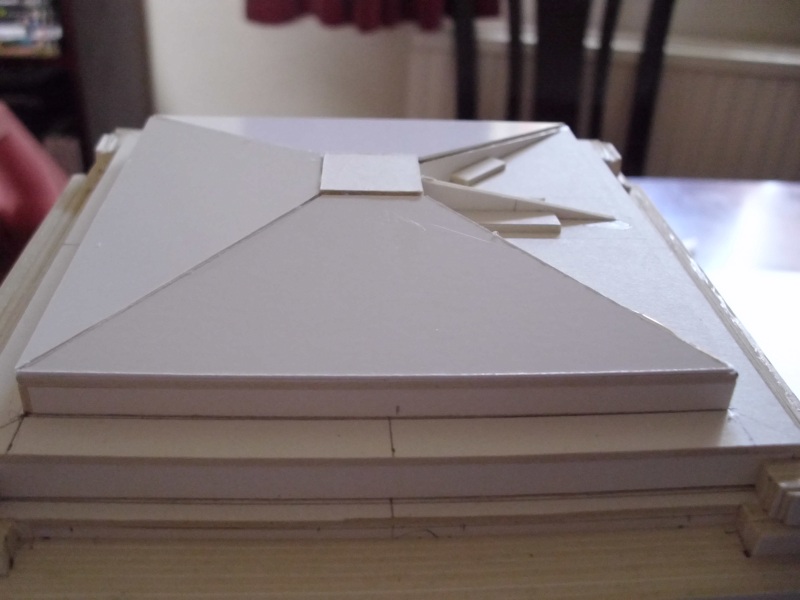
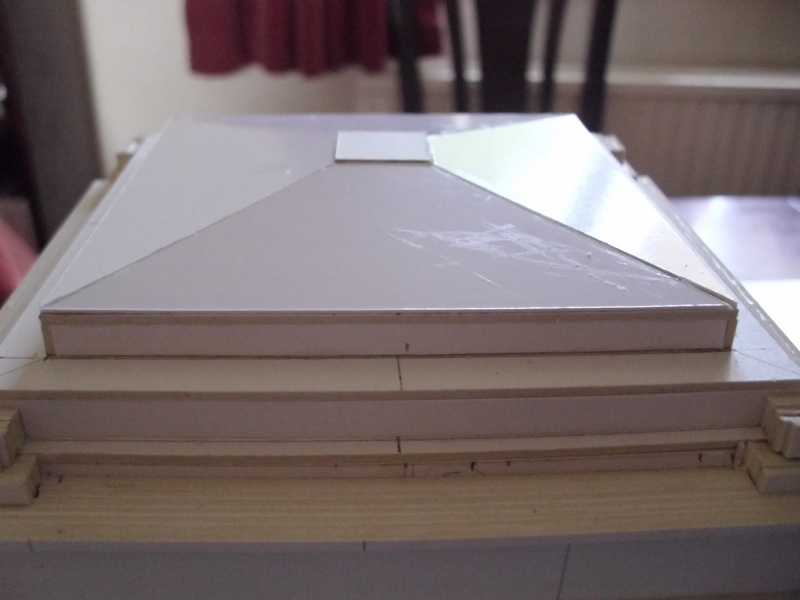
22nd July - Below
are the first roof stacks. The zig-zag bit is bracing, to support the
middle. And here they are with the roof stack on and the central
dividers.
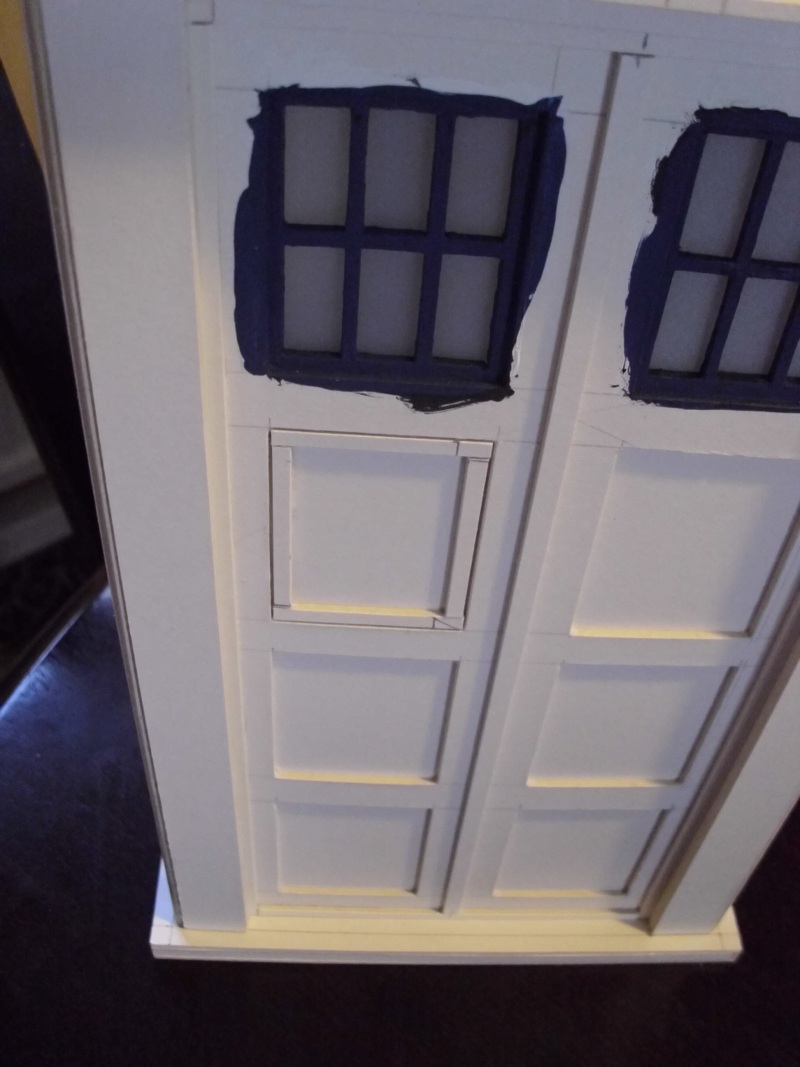
24th July - The
weekend, so a lot gets done today. The phone sign frame is fairly easy to
do, although one has to make sure that it doesn't fit the panel too snuggly,
otherwise after a couple of coats of paint you won't see the join. The
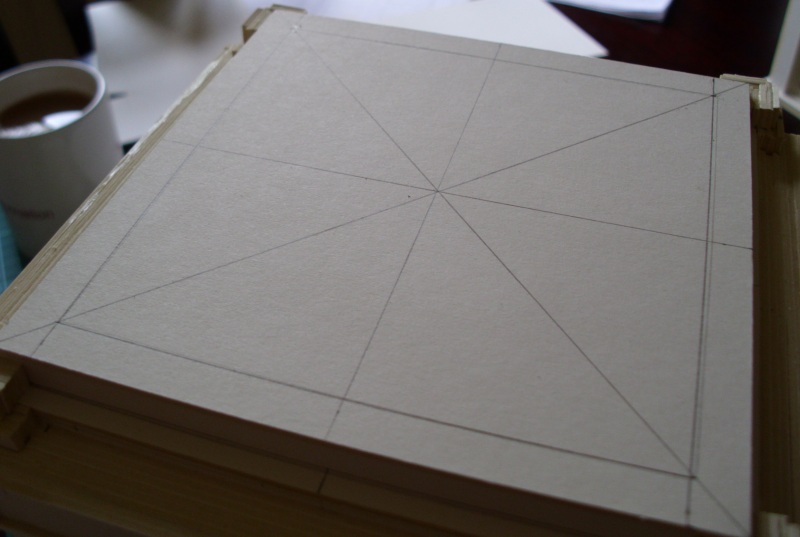
last picture in this sequence is lining up the roof for the next stack to fit on
top.
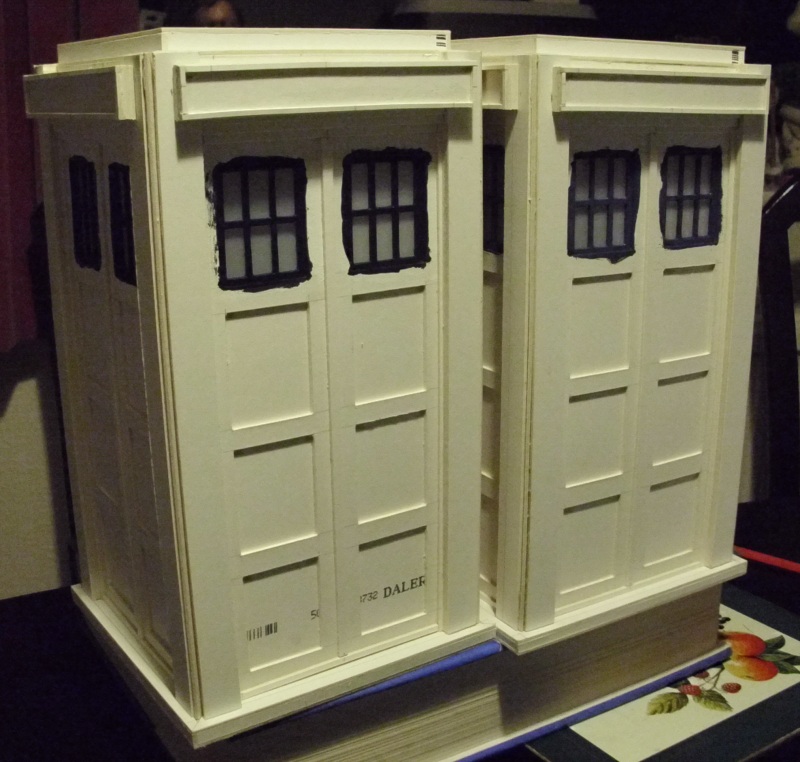
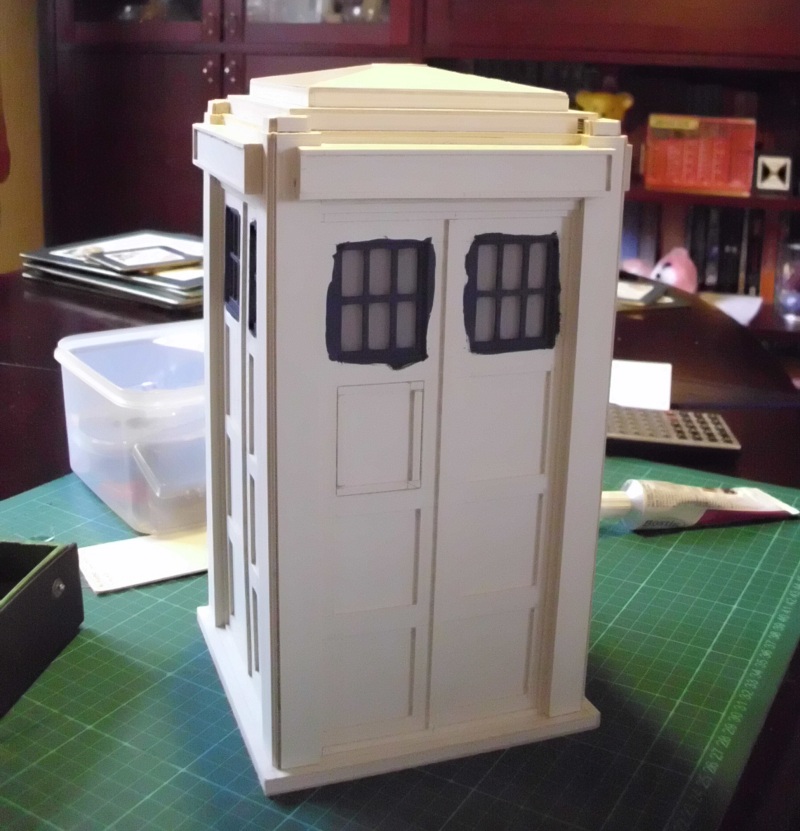
Second roof stack
pictured below (along with a couple of essential tools of the trade - wickedly
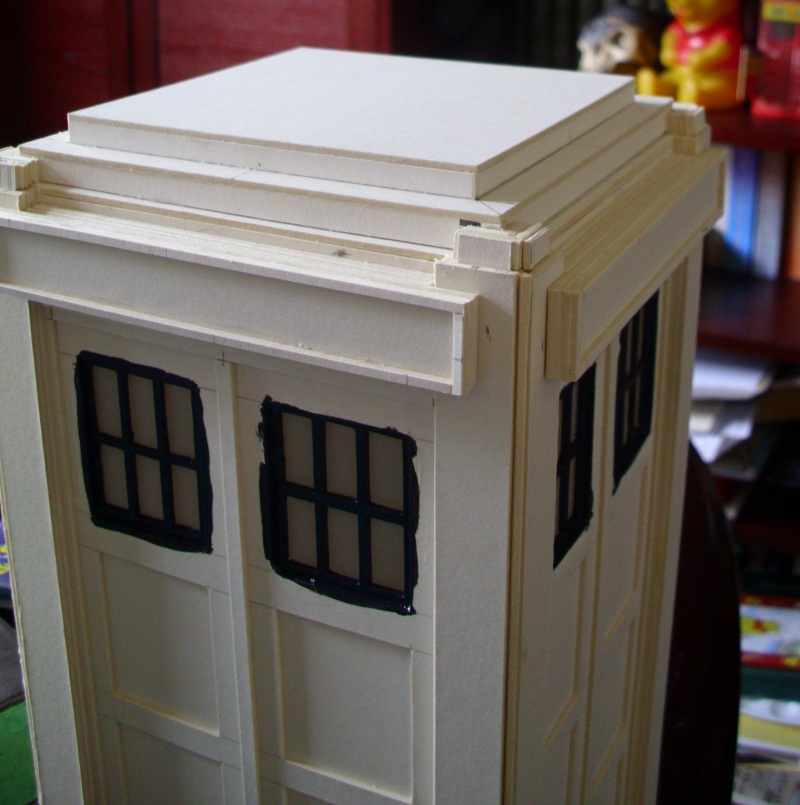
sharp knife and tweezers). Note support card in middle. And here's
the final roof stack on. It certainly helps to "bulk out" the overall
shape of the TARDIS.
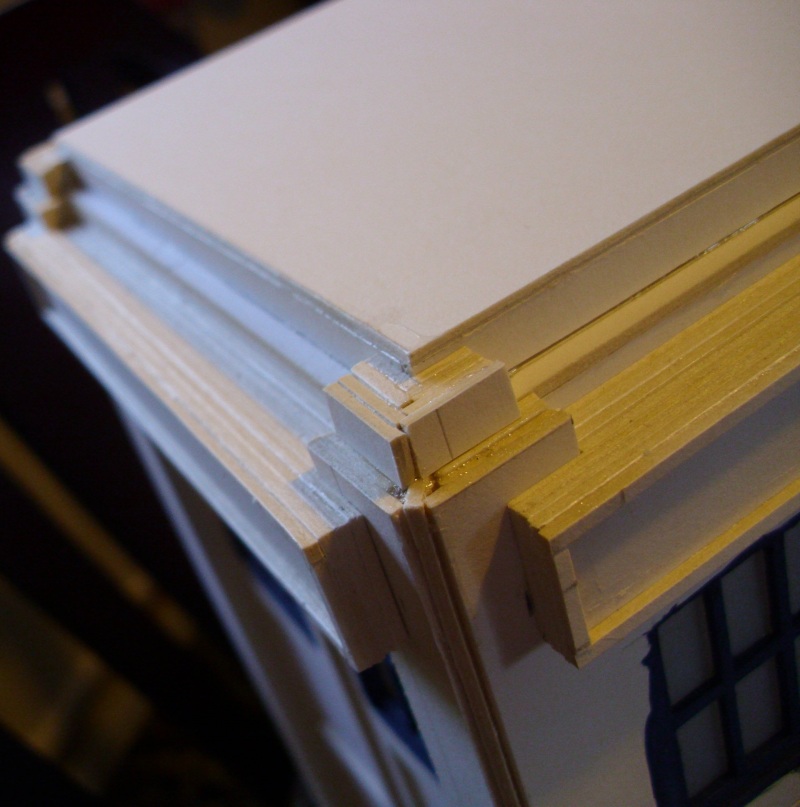
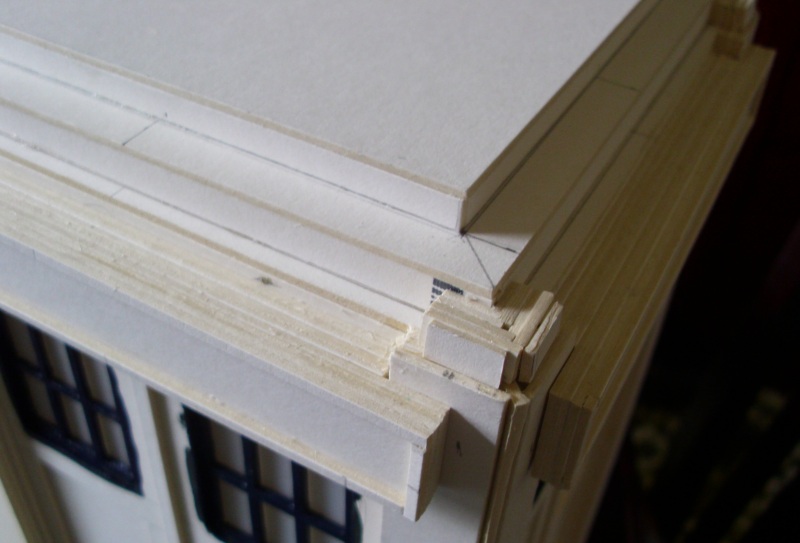
I've no idea what the
tops of the corner posts are called, so I'll call them "the tops of the corner
posts". Anyway, they're now done, as are the supports for the pitched
roof, which get more complex each time I do them!
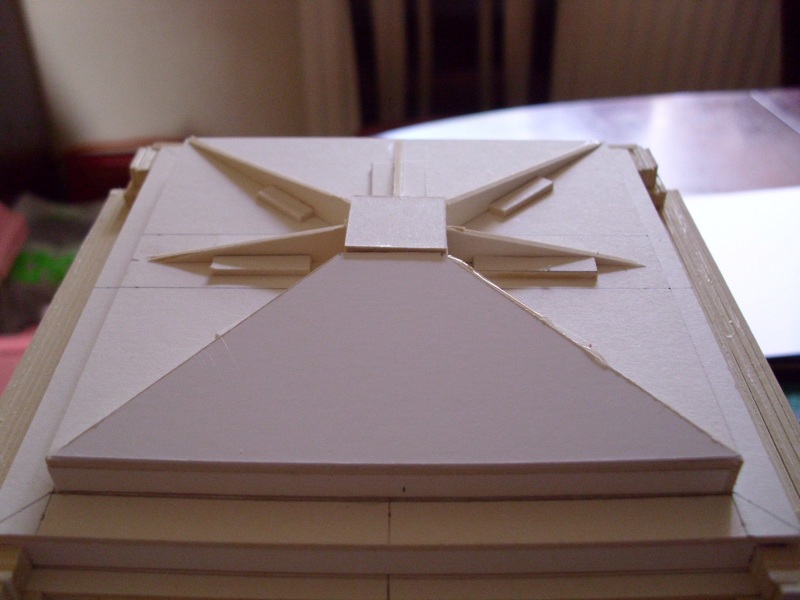
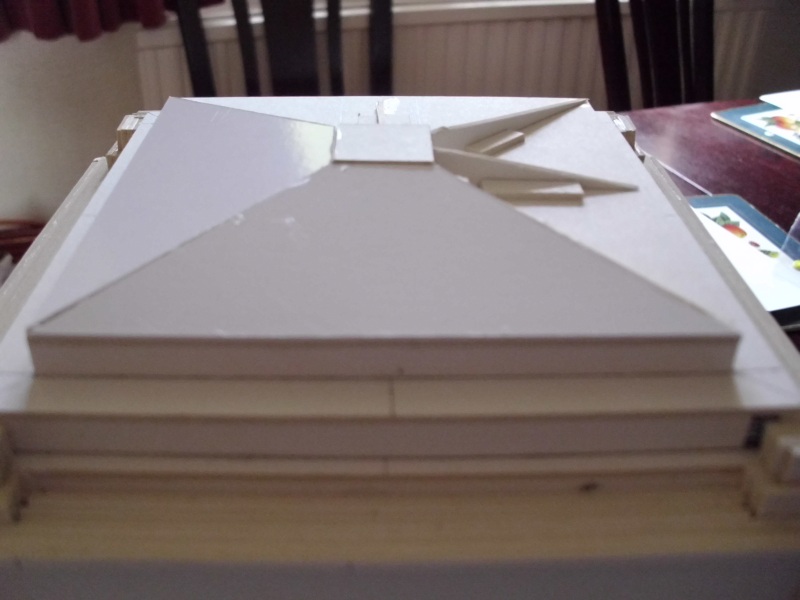
25th July - After
three attempts at cutting the roof panels to the right shape (grrr!), I finally
manage to get them right. There are 3 important measurements here:
1. The edge where the
pitched roof meets the edge of the stack
2. The edge where
the roof meets the lamp base
3. The distance up the
slope of the roof between the two
If one of these is out by
so much as half a millimetre, you wouldn't believe how much it skews the whole
thing. Luckily the two models have identical dimensions, so now I've
got one correct, the same measurements should work for both. Here they are
being glued on.
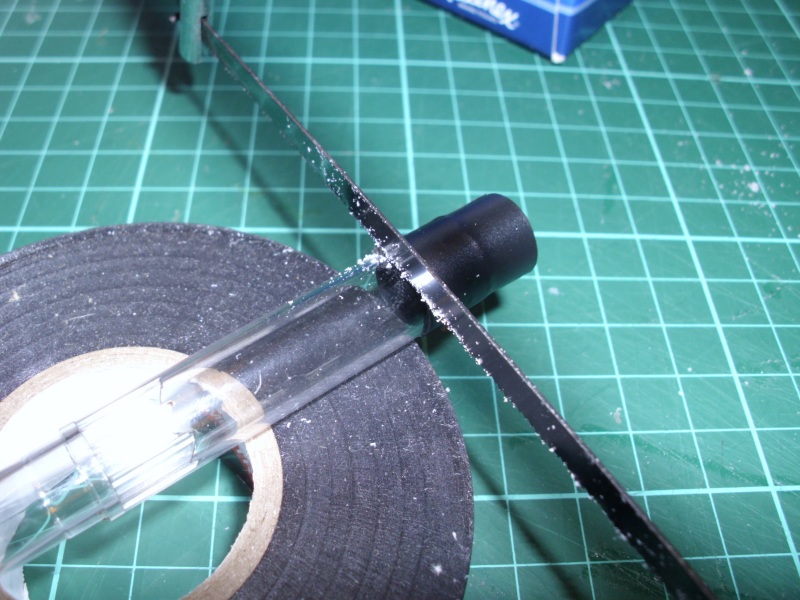
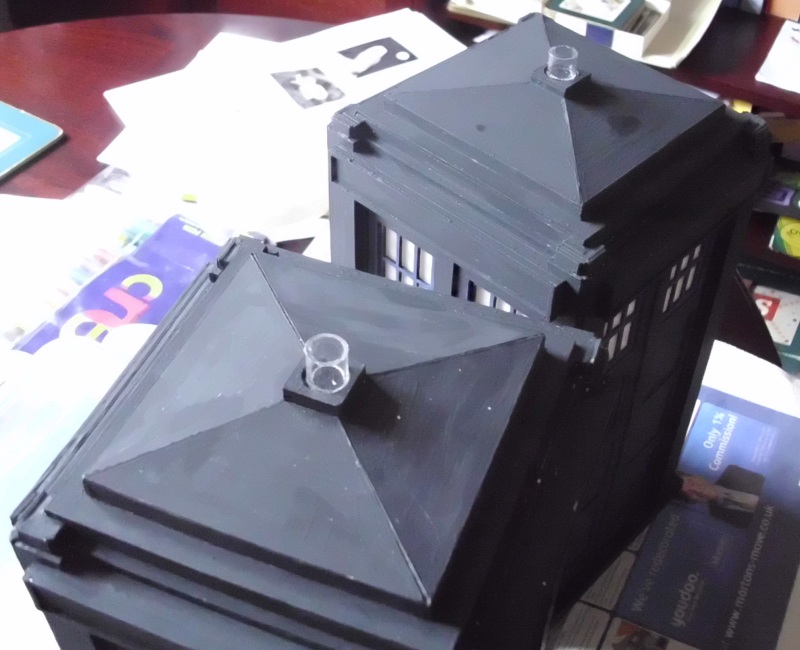
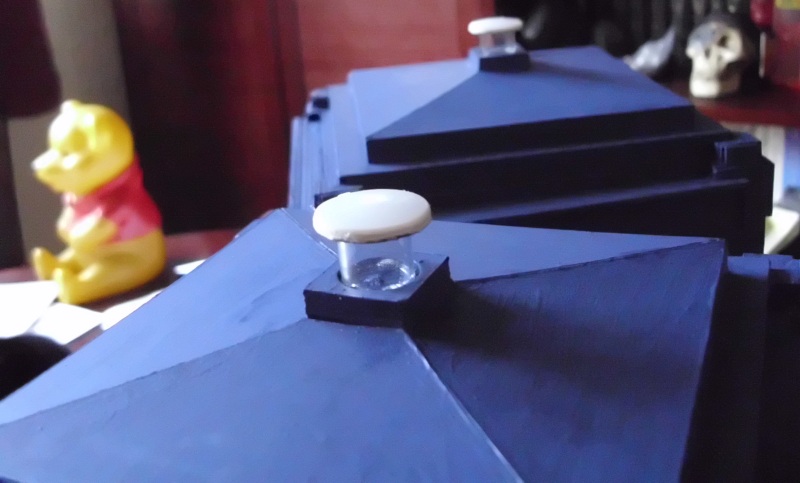
26th July - This
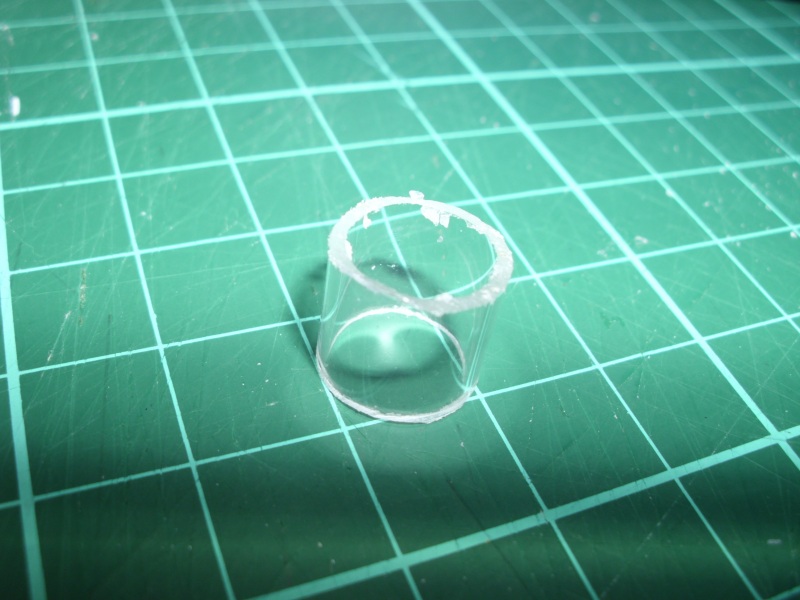
is how I create the lamps. An ordinary biro cut in half with a hacksaw. I
wrap the end in insulation tape to make sure my cut is straight. Even
so, as you can see from the second picture, it still makes a jagged cut through
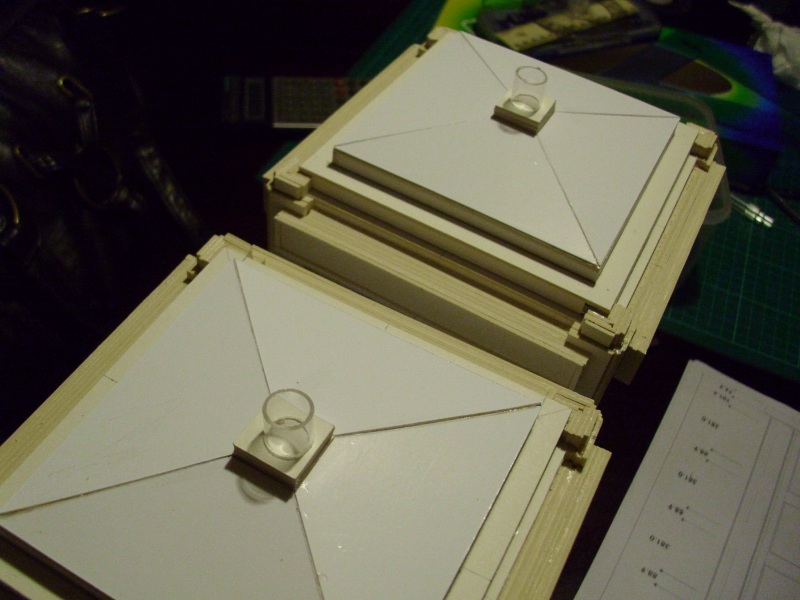
the plastic, but this is usually hidden by the lamp base and cap. In
Picture 3 below you can see the lamp bases are on.
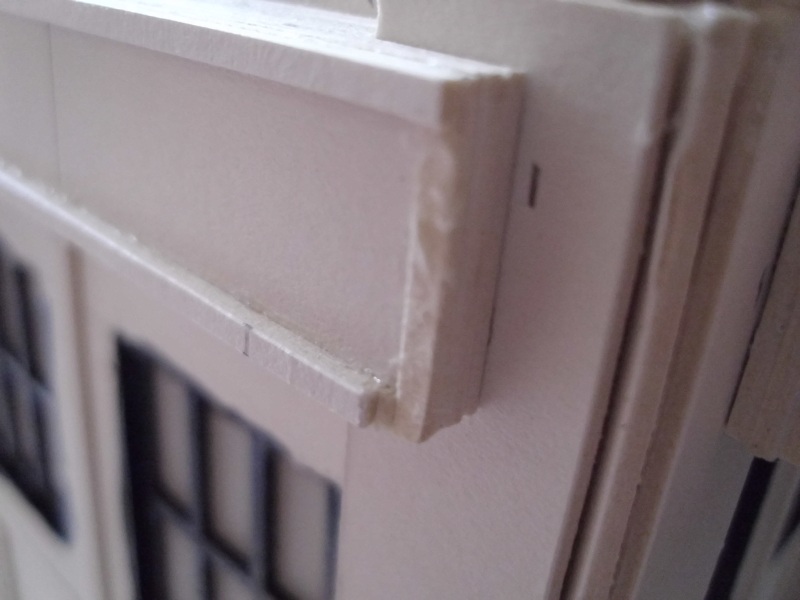
Picture 4 - the downside
of my method of making the roof boxes out of separate strips. One of them
has broken off.
1st August -
Undercoat painting has started...and finished, because I have run out of
paint!
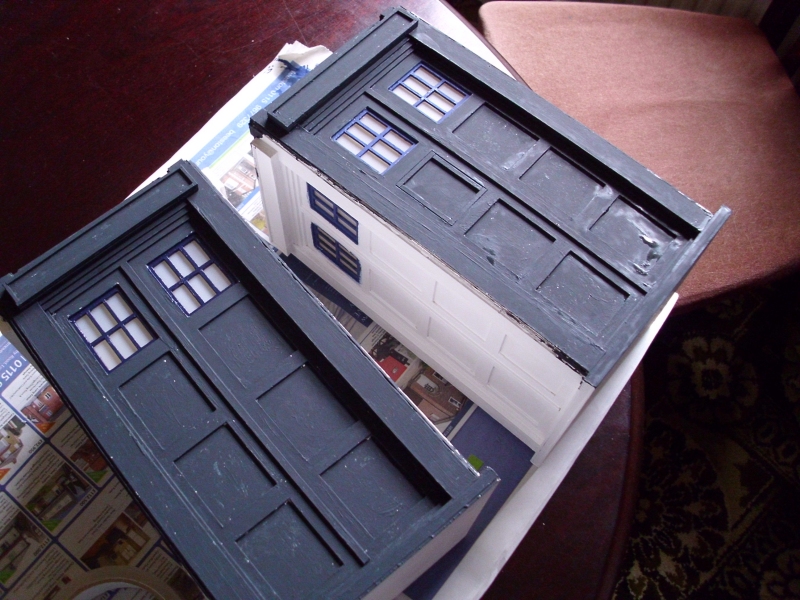
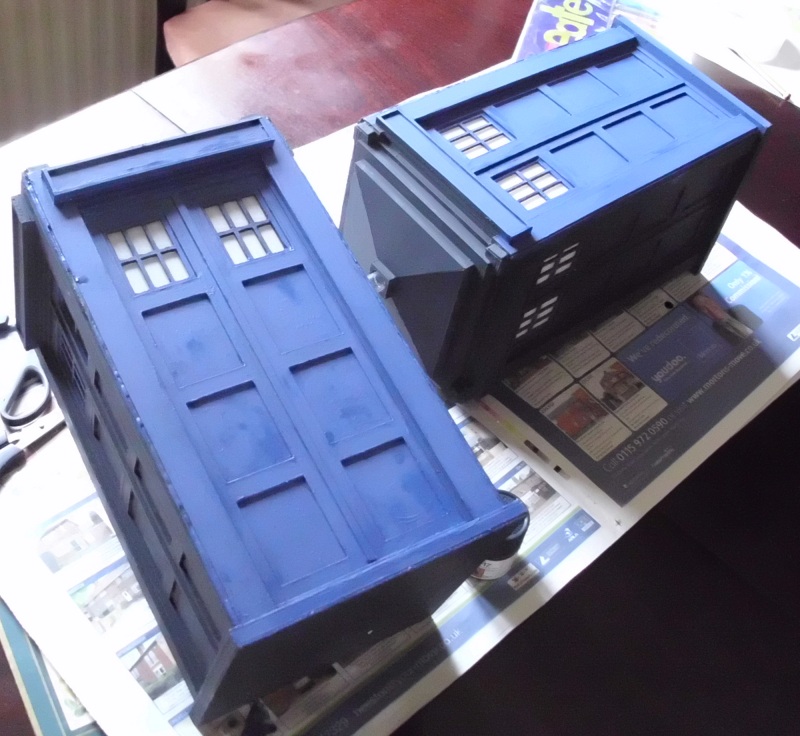
3rd
August - I've completed the dark grey/blue undercoat and covered it with a
second coat of Flat Blue, which is wonderfully "Classic TARDIS" colour.
Matt as well. The beauty of this is that you don't have to cover it
perfectly, and in fact it's better if you don't. Small differences in the
thickness of cover allow the dark undercoat to show through, giving it a good
battered look.
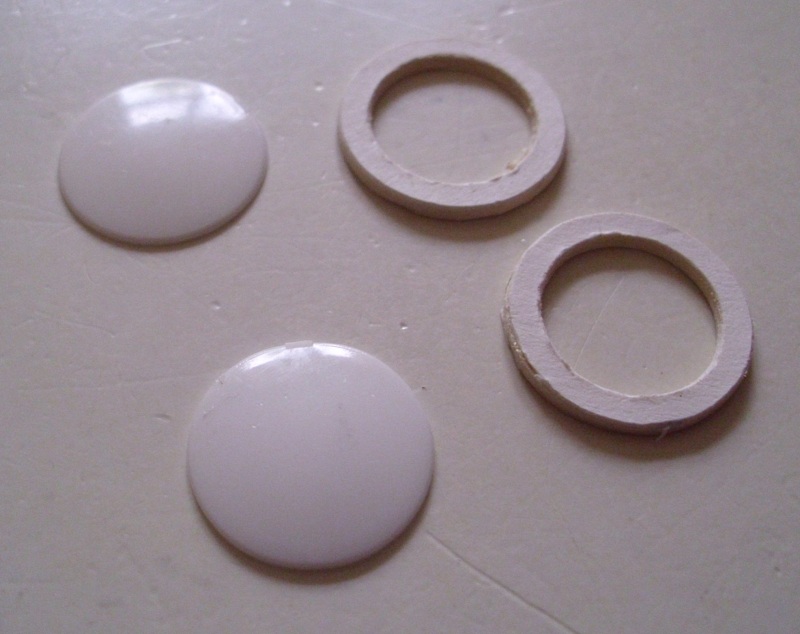
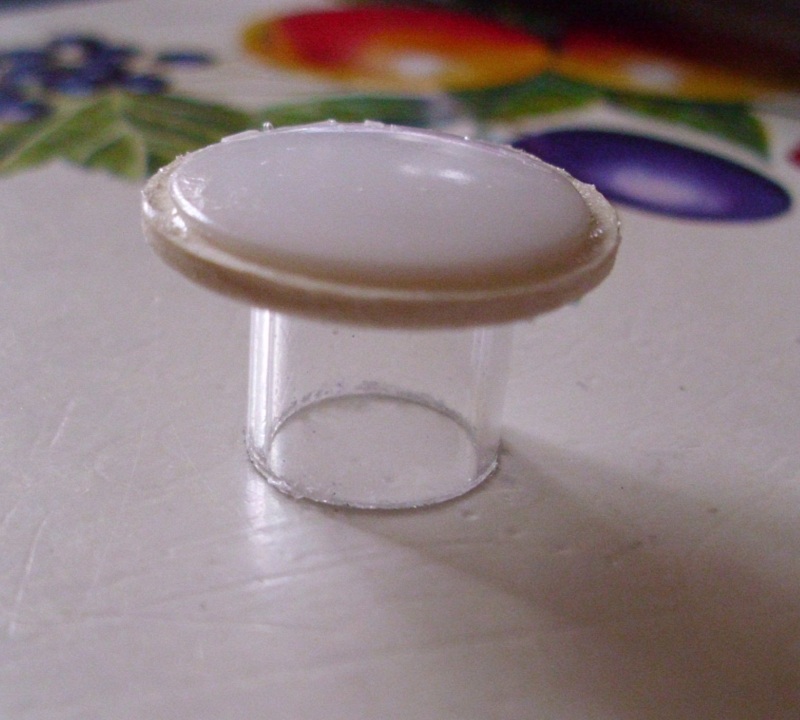
8th
August - I hate doing lamps. Cutting out these rings is an absolute
nightmare, but as you can see from the final pic, they don't look bad when
on. I've already painted the underside of the lamp cap, so as soon as they
are set I'll get the lamp struts on.
Next Home Back
This Web Page Created
with PageBreeze Free HTML Editor