Building a Model TARDIS
Part Three
That Damn Roof...
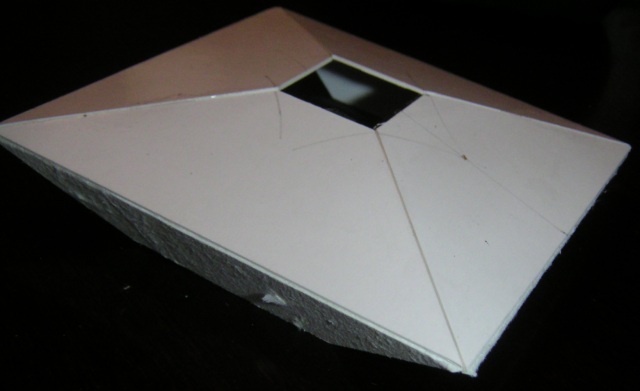
This is the bit I hate. Compasses, protractor,
calculator, and as much trigonometry as I can remember are essential to getting
the roof right. I start off cautiously by putting supports in. I
don't know if they're going to help, but they make me feel like things are
progressing. So a lot of headscratching
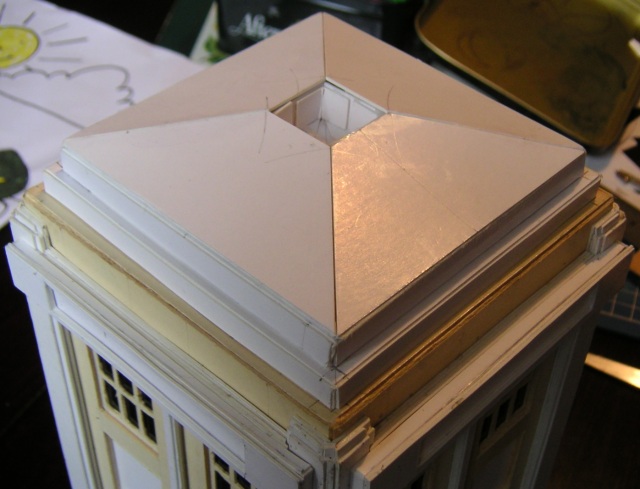
& calculating later, we have a roof ready to put on.
I've used a bit of sellotape on the underside, but other than
that I'm relying on the glued tabs on the edges to provide the basic solidity.
Surprisingly, things go to plan, and the roof seems to fit.
Time to put a little lamp base
on. At this point I still don't know what I'm going to use for a lamp, but
I'm sure there's something suitable somewhere about the house.
Sure enough, a nice fat "Lloyds
TSB" pen comes in handy, and after a good half-hour sawing away with a Stanley
blade, I finally end up with a short cylinder of clear plastic that is just the
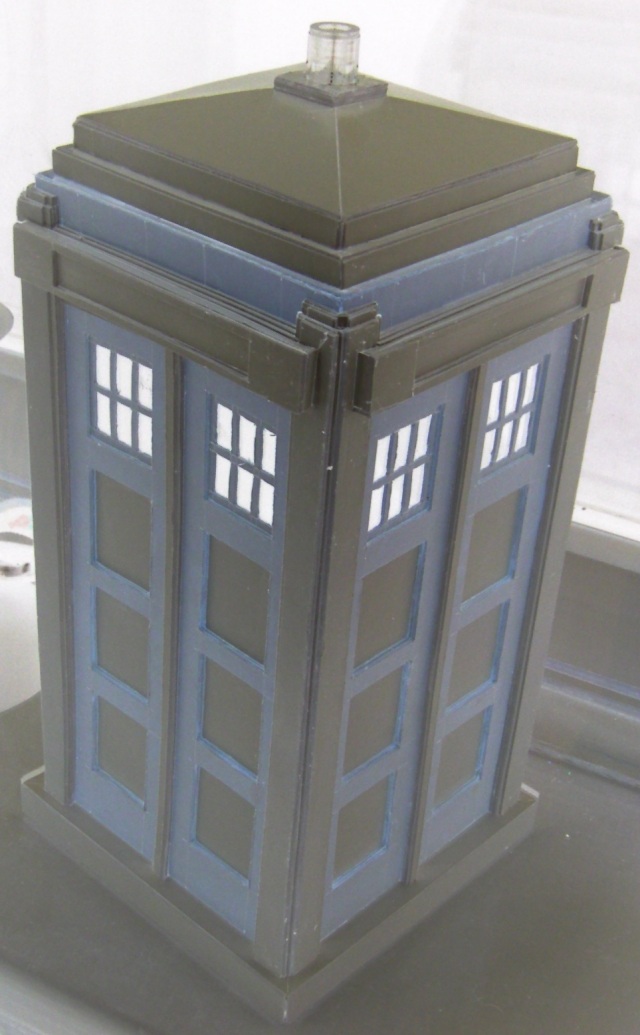
ticket. Blimey! It's a TARDIS!
Putting the base on was a bit of a
no-brainer. The only thing it showed up is how not quite 100% straight my
TARDIS is in places. I don't care. Maybe next time I'll take a
bit more care...or simply not leave it 5 years between sessions! But like all
models, it sure looks good when you stand back and admire it.
Note the bendy-ness of the left-hand side. Oh well, can't
be helped. Next stage - finish the lamp housing, paint, and print out
the signs. And here's a quick shot in negative!
The Painty Bit
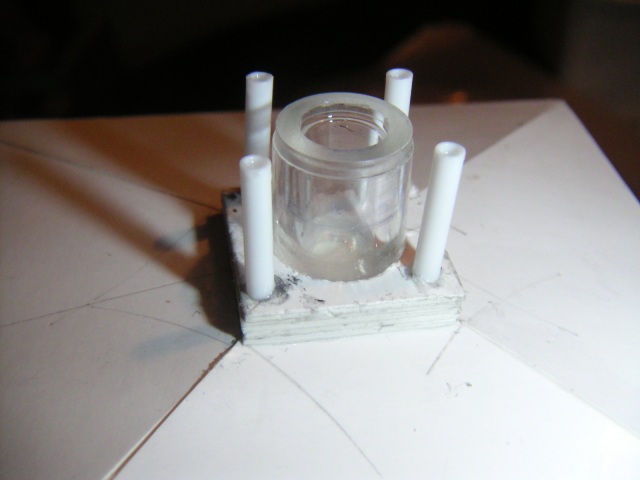
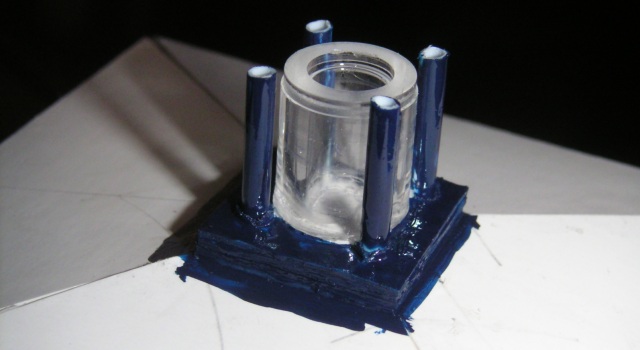
Here's the lamp assembly. The four brackets are made from
a cotton bud sliced up. Things are getting a bit small and fiddly at this
point, so the lamp fitting is going to look pretty funky (remember, "funky" is
our word for "not very accurate, with some bent bits").
I've
also found something that will work as the dome on top of the lamp.
This is a plastic cover for a screw-head. Although it's tempting to
glue everything on and finish it completely, the lamp will be a
nightmare to paint if I do that, so I'm going to paint the lamp
assembly separately and then fix the top on.
I've also got some signs in jpeg format printed off on laser
acetate. I'll glue them on after the painting is complete. I'm not
looking forward to doing the window frames.
OK, here's the bit you've all been waiting for. I'm
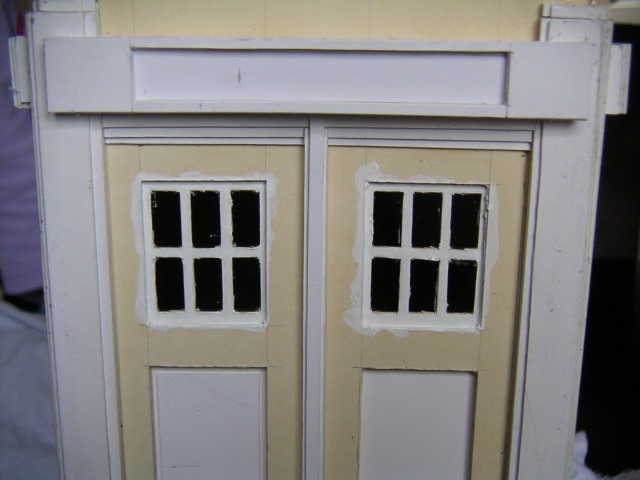
starting to paint. I'll start with something easy - the windows. Except it
isn't easy really and takes me ages. I have a couple of little pieces of
card I use as paint shields, and have to cover up each "pane" as I paint the
adjacent frame.
(You might notice in the first picture below - the left-hand
panel has a raised piece. That's for the Phone sign) Now, I
have to do the lamp assembly in two bits, because it'd be a nightmare if the
whole lamp was glued on, so here goes. Again I use a paint shield (thin
piece of laminate pushed between the lamp and each support, as I apply
paint. But you can't just leave it there, can you, so
over the course of the day I give the roof a couple of coats.
That's enough for today (it's Saturday, and "You Know Who" is
on in 45 minutes). It's been tempting to keep painting, but one should
resist and do little and often. And keep checking for runs.
Finally, the last picture above is the printed phone sign,
ready to go - the back painted with several coats of white.
Home
Back
Next
This Web Page Created with PageBreeze Free HTML
Editor