Building a Model TARDIS
Part Two
Change, My Dear...
I realise that my door panels could maybe be a bit
deeper. Only one way to sort this...cut them out and replace them with
deeper ones. Unfortunately I can't do the same to the windows, so I'll
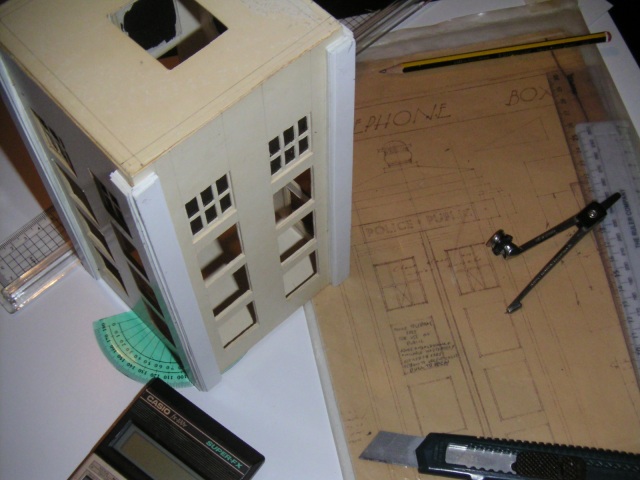
live with that. Below you can see a tasteful shot of the working
environment. Yes, I do use the compasses.
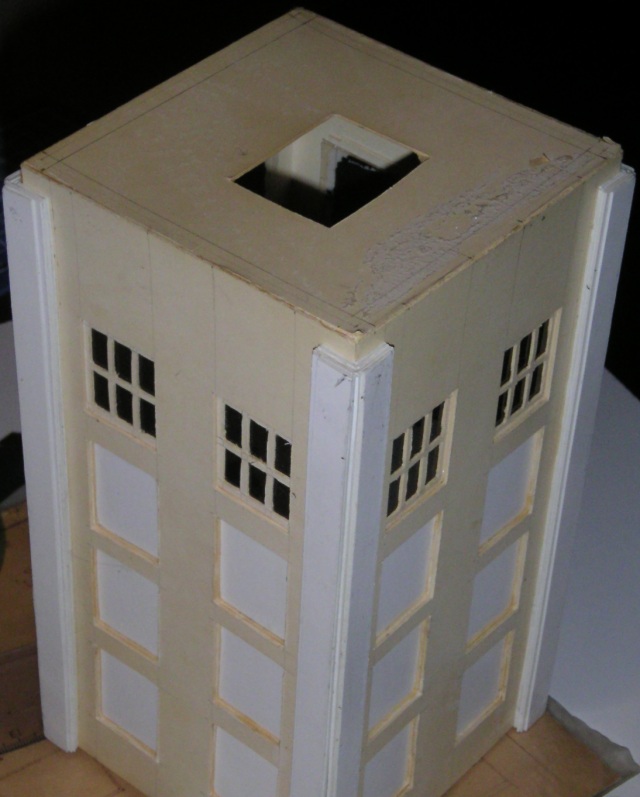
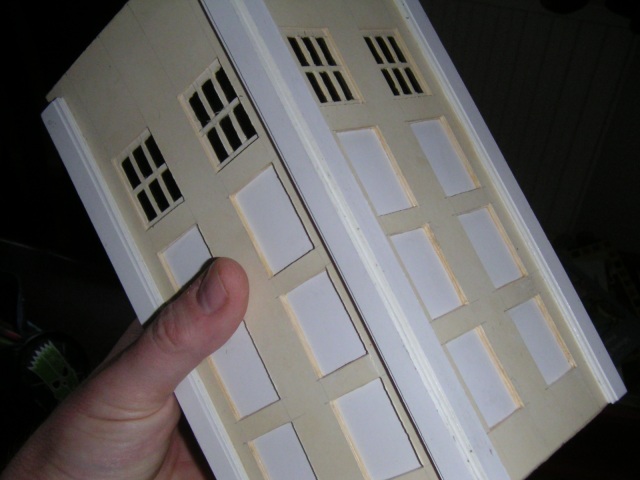
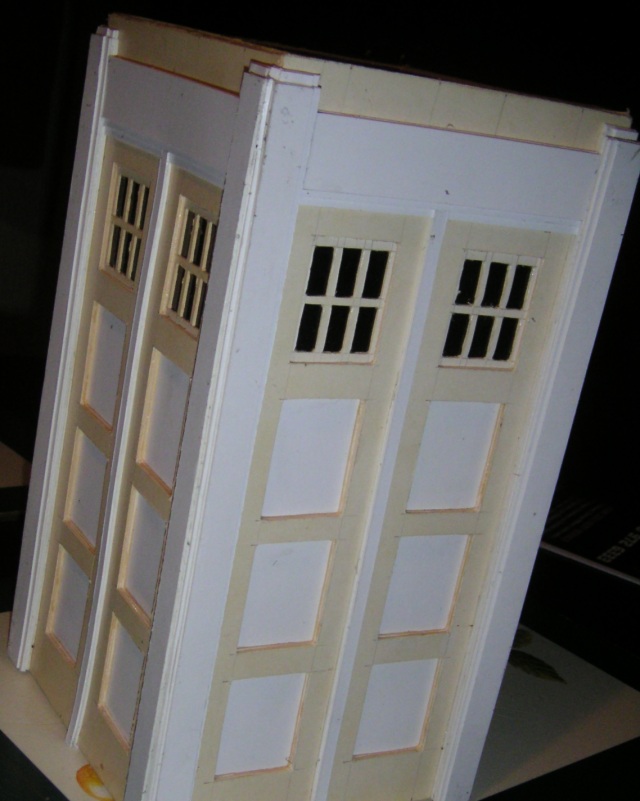
I finally get all the new panels in (the last one is a
nightmare and has be be jiggled around through the hole in the top), and now I
can really see the difference between the 5-year old card and the new
stuff! The last picture gives a good idea of scale. It's already starting to feel a lot more solid, owing to the layers of
card upon card.
Strengthening
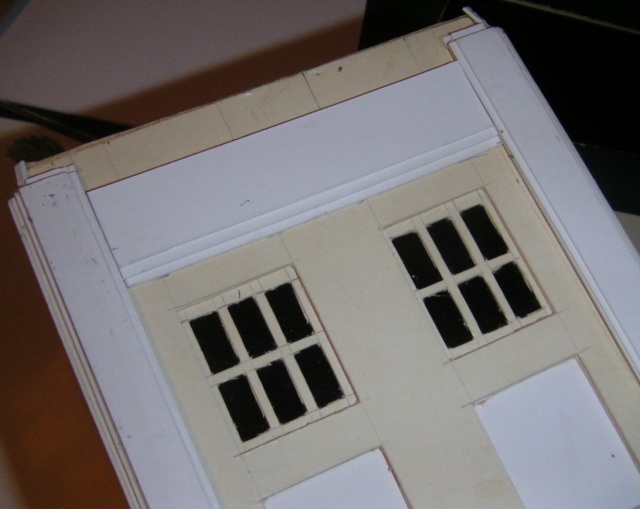
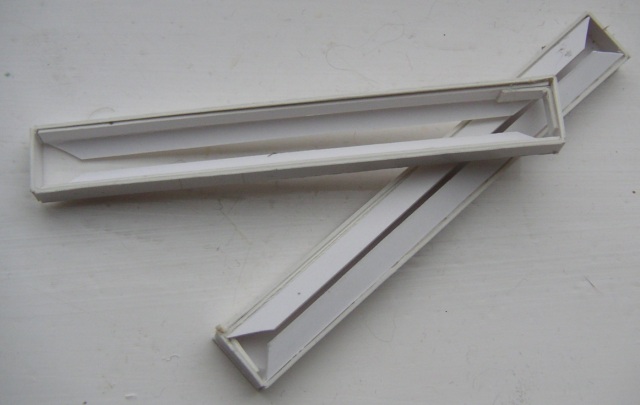
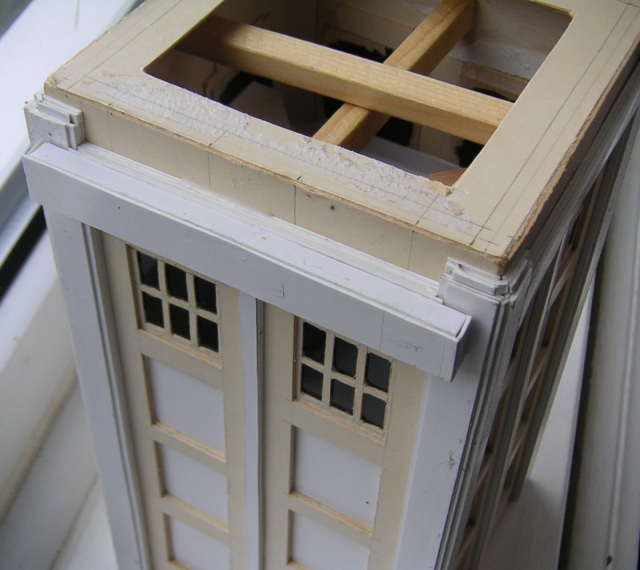
The steps under the sign are easy, three flat sheets of card
across. Whilst doing this, I notice that the sides of my TARDIS are
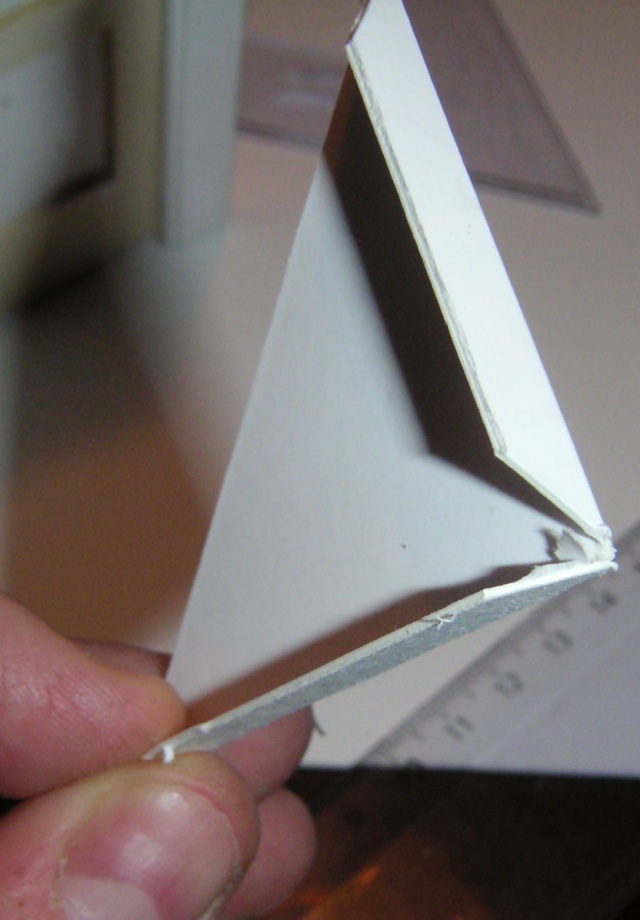
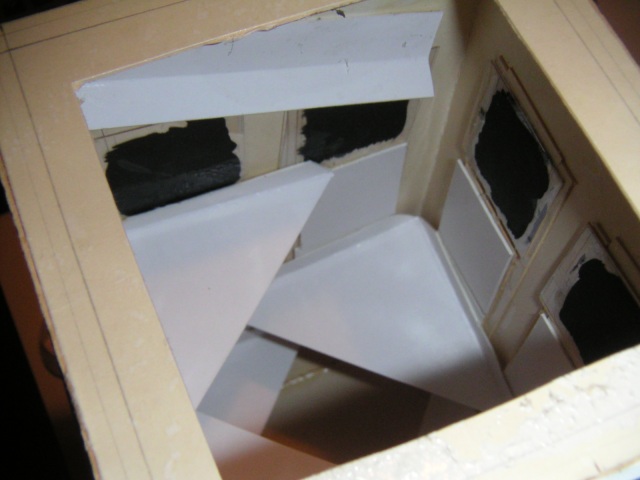
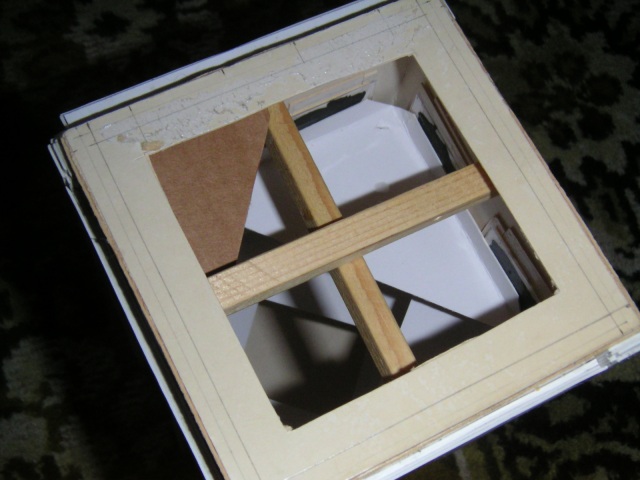
slightly bowed inwards! I enlarge the hole in the top and use triangular
card (see second picture below) to push the sides out. I end up using
quite a lot of these, and holding them inside under pressure while the glue sets
takes some time, but it seems to do the trick.
I finish the steps and start laying down the centre door
frame. I'm going with the original Met plans and making this go all the
way up to the sign. I've also put that little "extra" step on top of the
corner posts.
More Chunky Bits
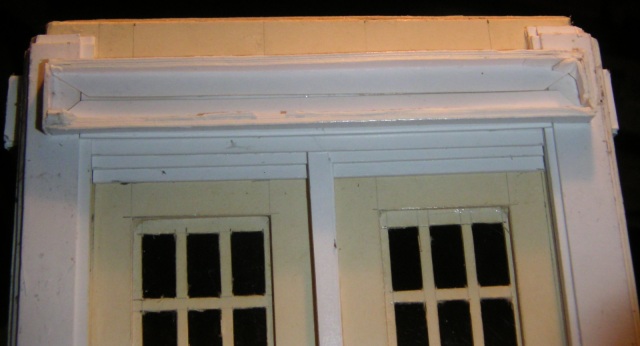
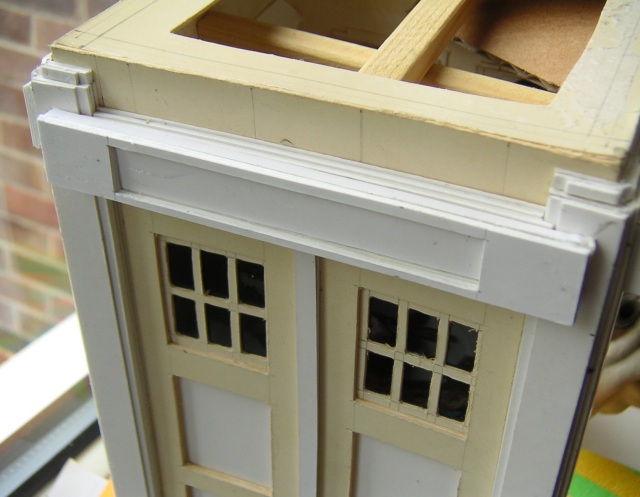
Now to do the signs. These are very fiddly and
difficult to get accurate, but hey- funky TARDIS! Unfortunately when I test them against the steps, I find the front is
still too bowed. Time for some drastic measures. With a bit of trial and error I cut two little pieces of wood to
just the right length. Forcing them gently in (after widening the hole
even more!), and aware that I may tear the card if I'm not careful, I
successfully correct the bowing enough to stick the signs on.
Yeah, I can live with that.
Minor Modifications
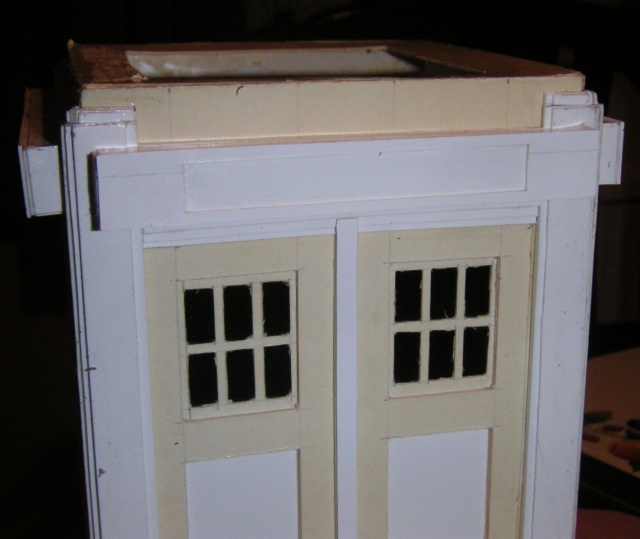
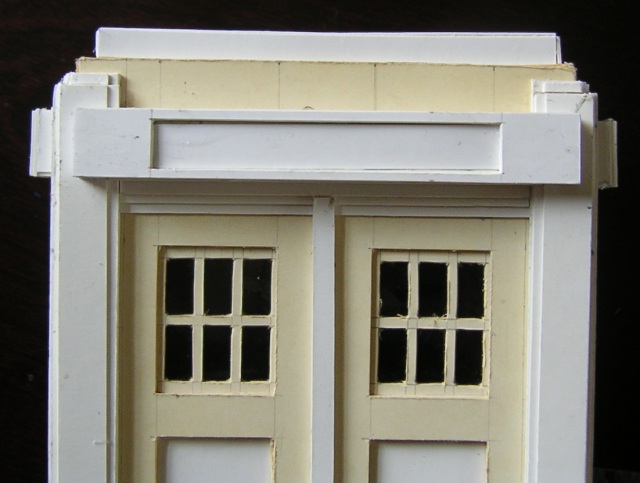
I'm not happy about those signs though. They
look like they stick out too far. I check photographs of police boxes and
it just doesn't look right. I check my blueprints and find I'm about 5mm
out. Damn my eyes for being such a perfectionist.
I work out how wide they should be, mark them out
with a pencil and straight-edge, then slice the top off of each sign with my
snap-blade knife. It feels like taking the head off a zit. The
TARDIS looks mutilated afterwards.
OK, so I get measuring and cutting and make new sign
fronts. in fact this time I take the opportunity to recess the sign
another millimetre, and I think it improves things. By this time I've
decided to shelve the LED idea, so it's now time to close off the inside for
good
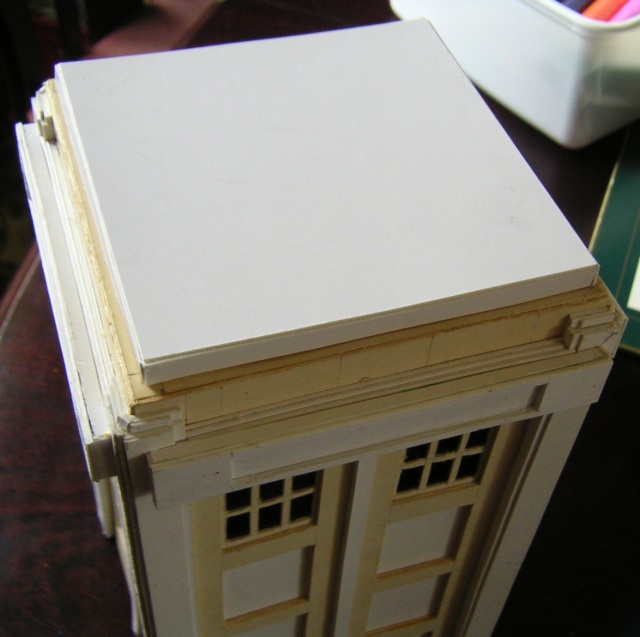
First stage of the roof takes hardly any time at all to plan,
cut out, shape, glue and fit. Holding the newly-glued roof down until the
PVA sets takes much longer. PVA slides about like a snail on a razor-blade
when it's still wet, but when it sets it's rock hard. So it pays to make
sure it sets in exactly the position you want it to.
I stand back and admire my work. Looks good enough to
eat!
This Web Page Created with PageBreeze Free HTML
Editor