The "War TARDIS"
(Modifying an electronic "Flight Control" TARDIS)
Page 2
Home Next Back
First of course, I need a TARDIS. eBay is my friend, and I pick up an unboxed 9th Doctor Flight Control TARDIS for about a tenner. It's been played with so it looks battered. Even better! OK, so now to get inside. This isn't that difficult (you'll only be removing 8 screws), but take care. There are springy little components inside that can twang out and get lost if you're not careful.
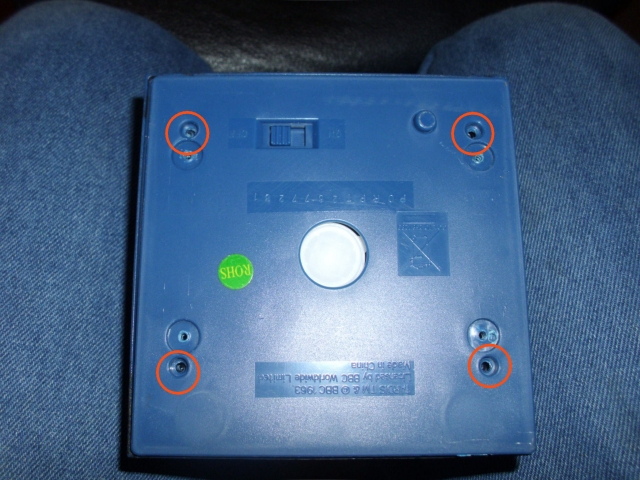
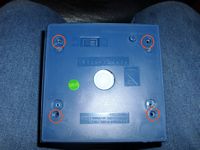
Figure 1 - Turn the TARDIS upside down, with the switch uppermost and secure it between your knees. You will be removing the 4 screws circled red, but take care! There are twangy components in there that can spring out and get lost.
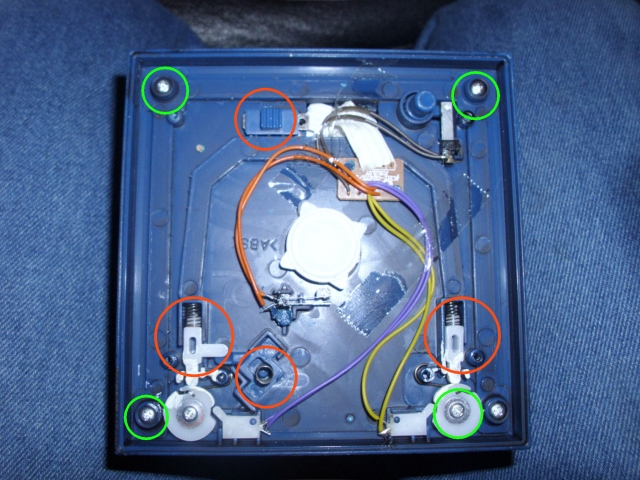
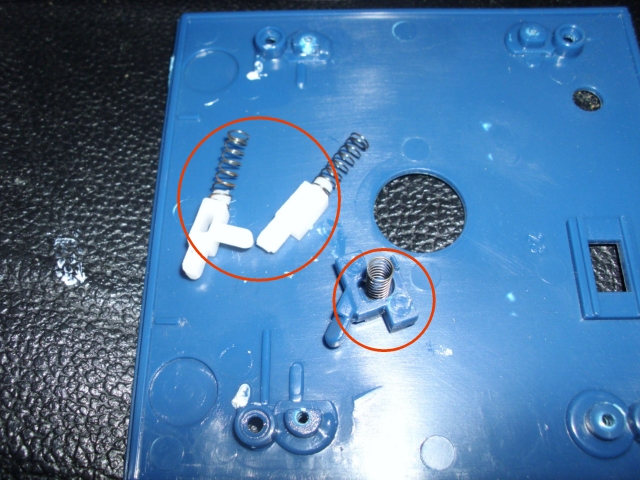
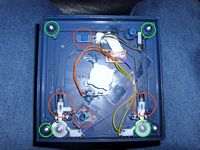
Figure 2 - Carefully lift the base plate off and put it to one side. You will now be removing the 4 screws circled green, but first note the components circled in red. These will fall out if you turn the TARDIS on it's side (which you will be doing later on) so remove them and put them somewhere safe.
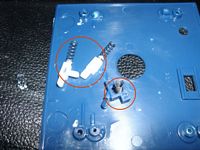
Figure 3 - the upside down base is a safe place.
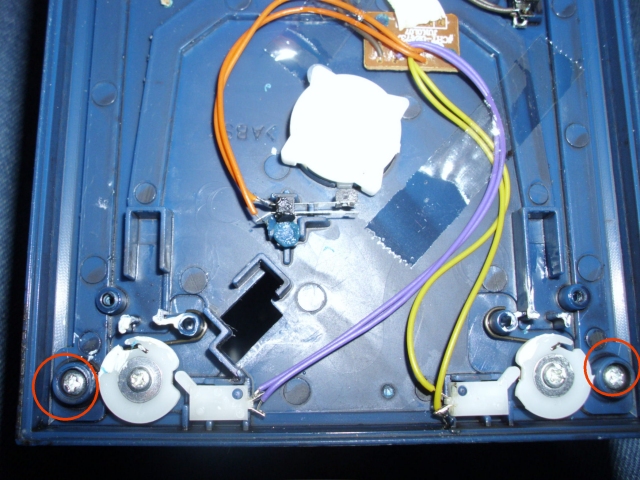
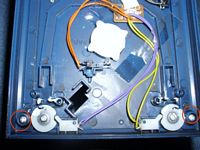
Figure 4 - With the components safely out of the way, unscrew the 4 screws.
 |
 |
 |
 |
| Figure 1 |
Figure 2 |
Figure 3 |
Figure 4 |
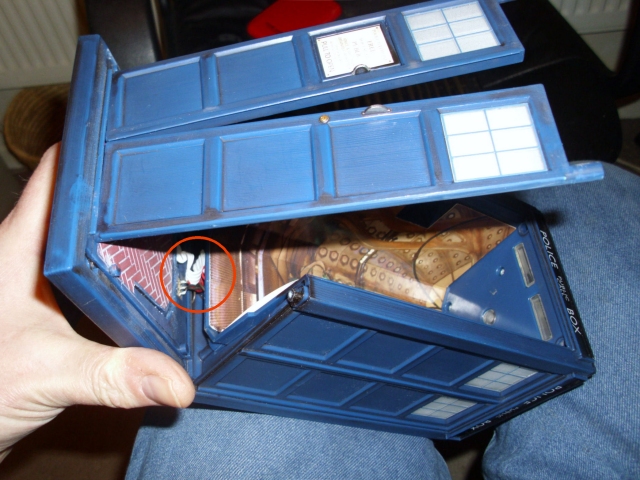
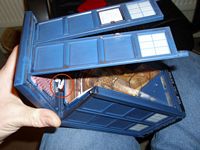
Figure 5 - Turn the TARDIS on it's side, doors uppermost. You can now gently pull the base away from the rest of the body. Note the doors come too. Also note the wires circled red. These control the sound and lights via the spring switches you removed earlier. Watch out for these wires because you can get them pinched when reassembling.
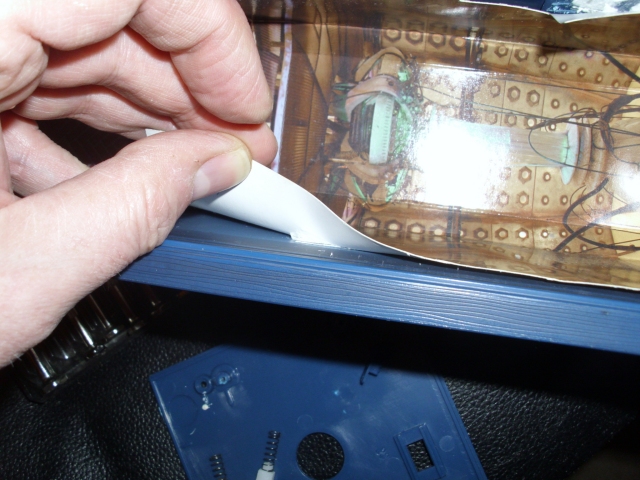
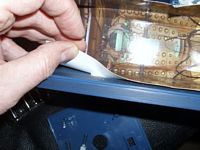
Figure 6 - Gently pull the interior backdrop away from the sides (it's glued, so you could use a sharp knife to assist you).
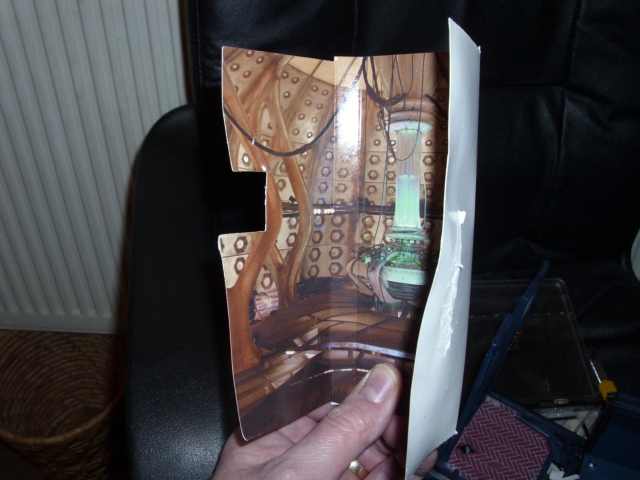
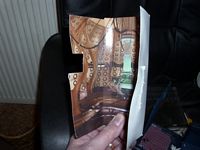
Figure 7 - Here it is, removed. It's 195mm wide by 155mm high. Even if you tear it taking it off, keep it. You can use it as a template for the new interior photo.
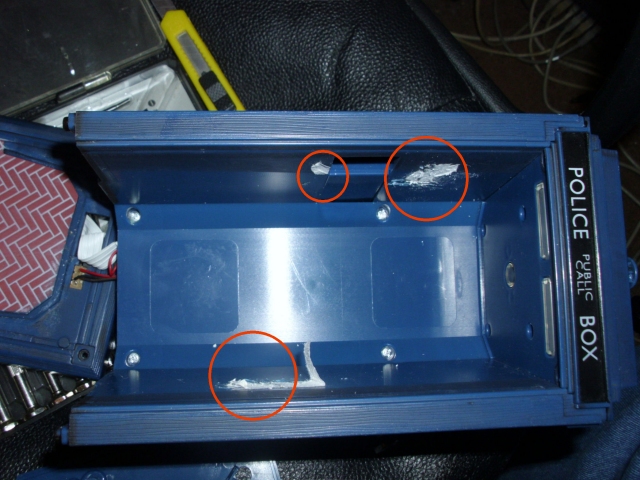
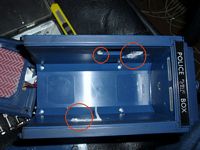
Figure 8 - the inside after removal. You might want to remove those bits of adhesive before you attempt to put another picture in. A good product to remove glue is "Goo Gone".
 |
 |
 |
 |
| Figure 5 |
Figure 6 |
Figure 7 |
Figure 8 |
This Web Page Created with PageBreeze Free HTML Editor