Mile End Box Build
Page 2
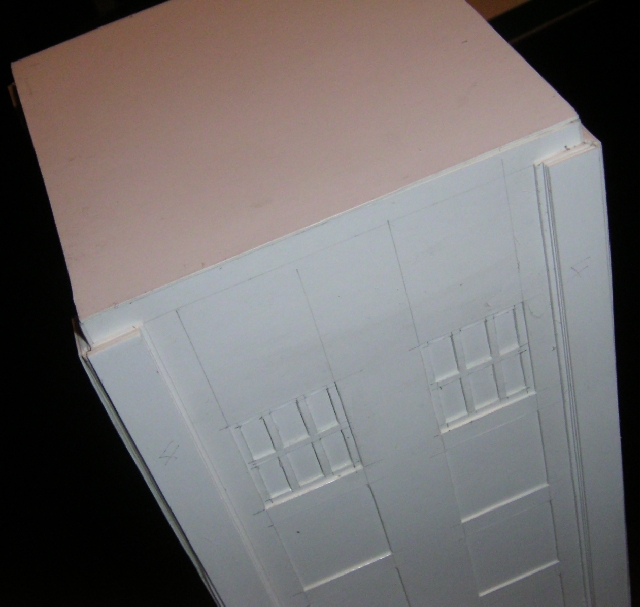
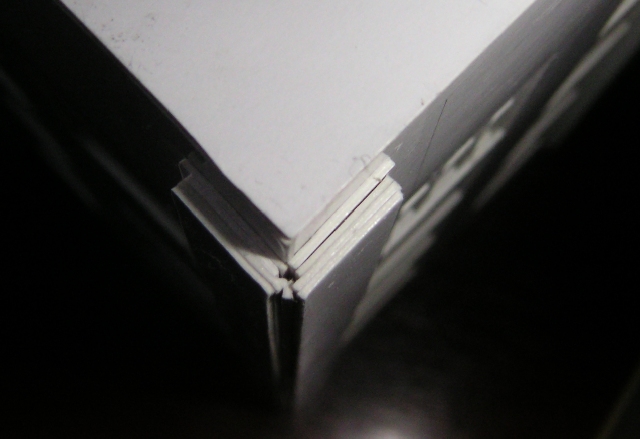
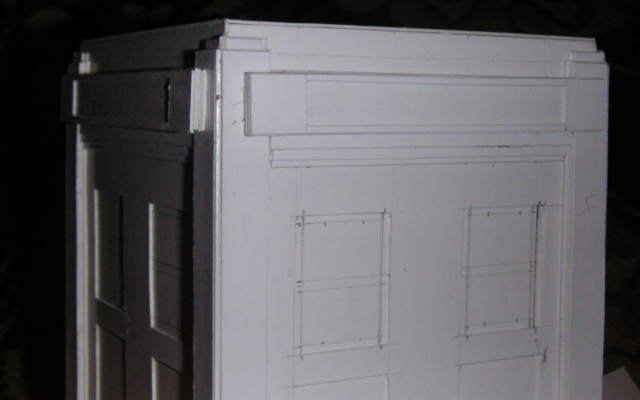
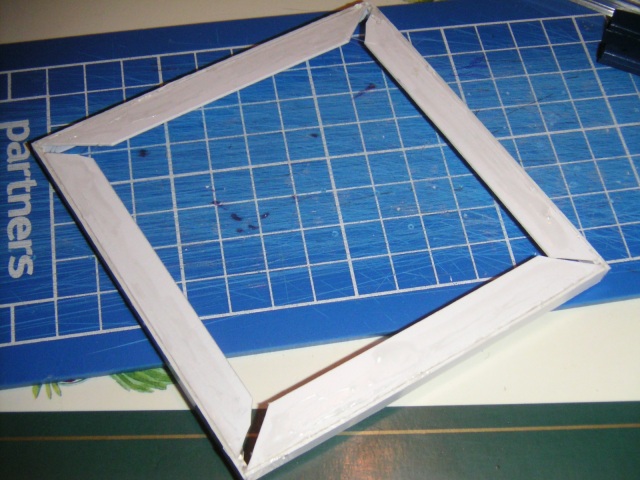
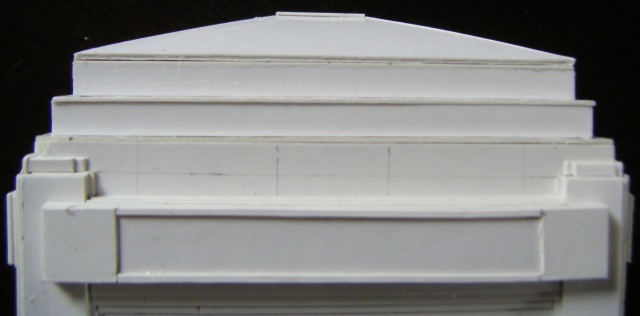
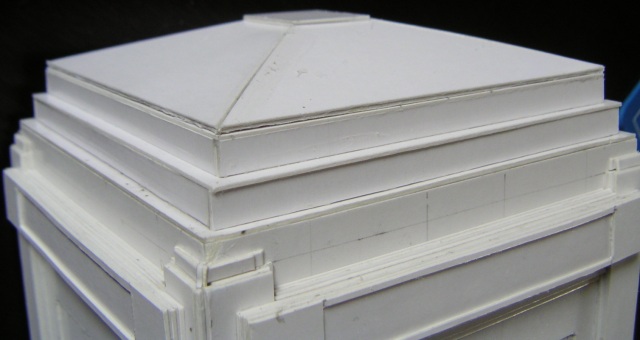
A quick "perspective" shot (you have to do these things!) Note in picture 2
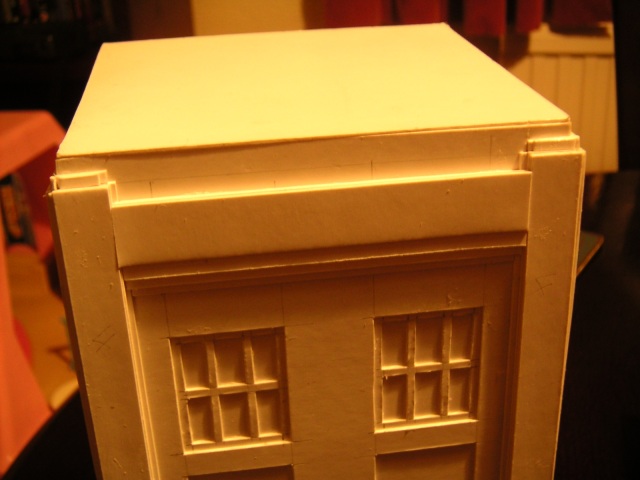
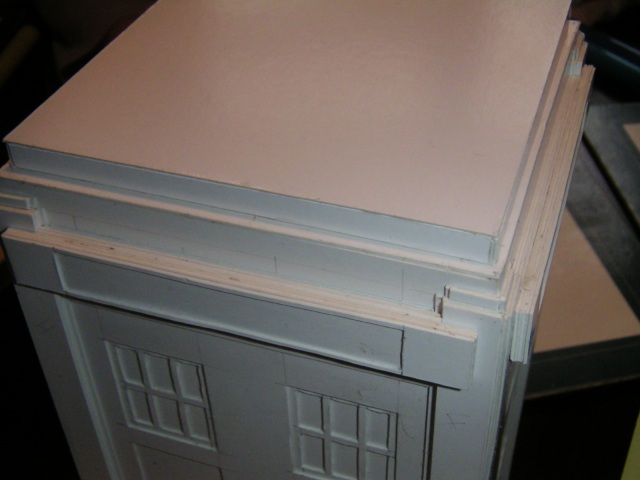
the long thin strip to fill up the gap. Picture 3 - the front steps are
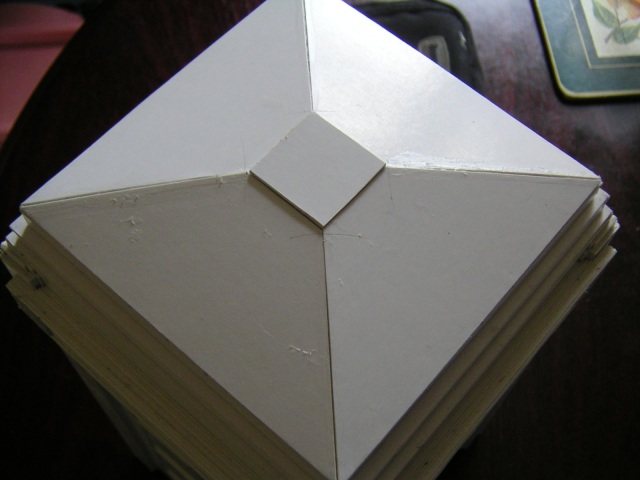
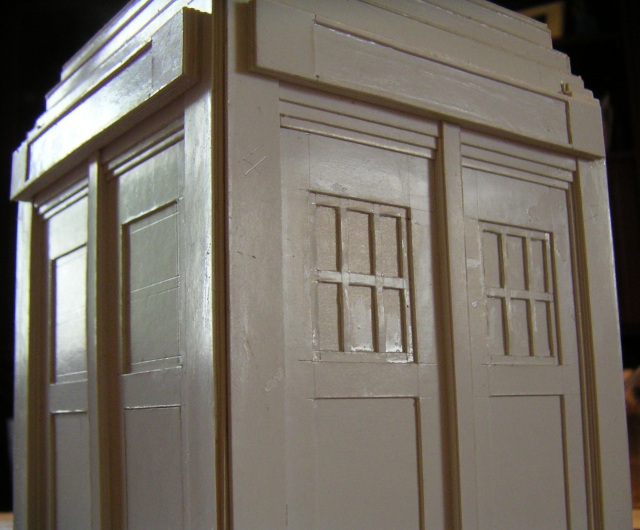
done. Now for the roof signs. I'm trying something different this
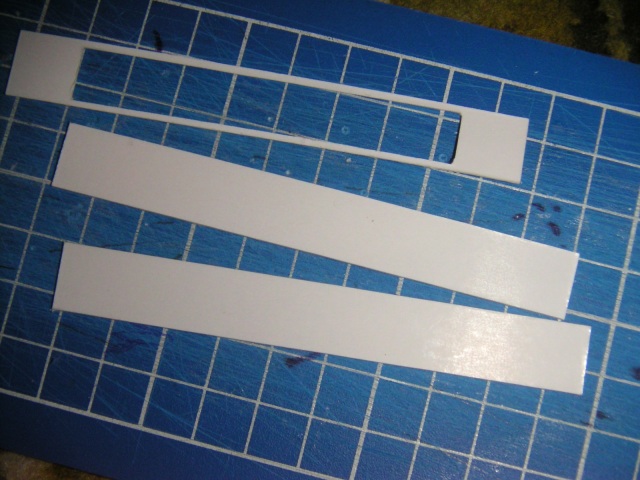
time. Making a box 4mm or so deep was a bit difficult so I'm building
these ones up with layers of strips like those in picture 4.
Have to be careful aligning them, but it's certainly quicker than the
previous method, and here's what they look like on. I'm only doing 1 card
thickness, so it won't look quite so chunky as my previous model.
Oh, and here's the graphic for the roof sign. Probably have to
change the red to match up with the colour of the box when I eventually paint
it. The words will print out clear on acetate, so I'll do what I did last time
and paint the back of the graphic in white paint.
Next step for the roof. Similar to the way I did the 4 sides for the
main box, I cut out 4 strips for each side, making sure two sides were 2mm
shorter to leave room for the edges of the other two sides. Not too bad
when it's glued on (thanks again Burt).
OK, I've done a lot since the last update. The second step is on, as
is the sloped roof. Since I covered the sloping roof in the last build
(and I ended up doing it the same way), I haven't gone into it in depth
here. Apart from the fact that this is actually the 3rd sloping roof I've
done, since I kept getting the others wrong...grrr!!
I've been trying out Araldite epoxy resin adhesive. It's much quicker to
set, and so comes in handy for the bits where you have to hold it down under
tension. The downside is that you only have a few seconds to shift it
around to the correct position before you can't move it anymore, but with the
roof it's a godsend. Ensure it's positioned correctly, then hold it
tightly in place for about 10 seconds and you're done. With PVA you could
hold it for 5 minutes, then soon as you let go it slips.
WARNING: Ensure adequate ventilation if using one of these epoxy resin based
glues! Have a window open and don't use it over long periods. You'll
get headaches and dizziness.
Now I just need the base on, and a suitable lamp substitute. The lamp will
be a lot easier, since the Blackwall boxes didn't have the traditional 4 struts
round the outside.
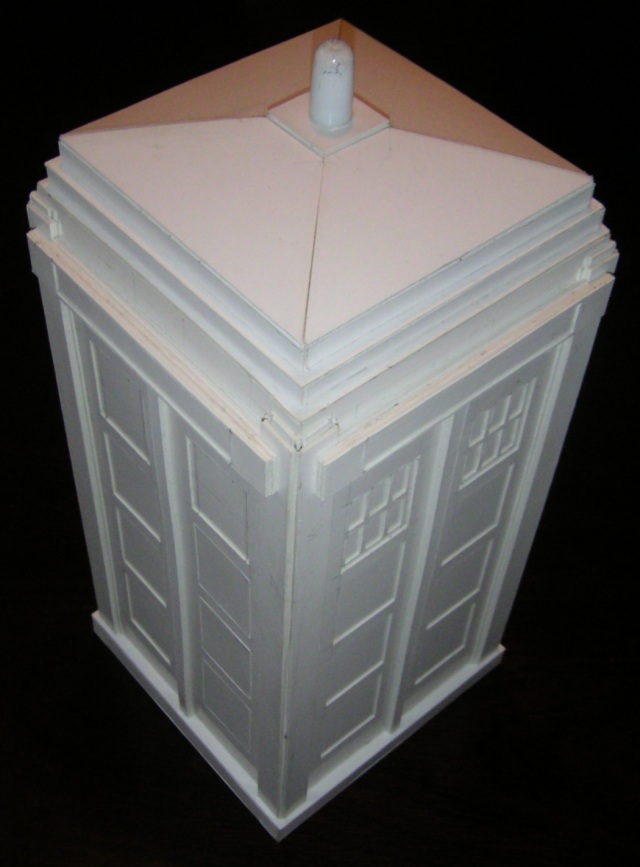
Well the final picture below shows the actual building part is now
finished. The lamp is the transparent lid of a biro I found lying around
the house. I honestly think the red/white chequerboard pattern is beyond
me, so I've just painted acrylic white inside it and glued it on.
Here's something I've never tried before, a short "flyby" movie to give you
a better idea of what it looks like at this stage (warts and all!).
My camera takes Quicktime movies, and this one ended up at 6Mb, but I
converted it to XVID Avi, and removed the audio, so that got it down to about
800k in size. If you experience any problems playing it in your browser,
right-click it, choose "Save Target As", and save it to your PC or
Mac. Try running it from there.
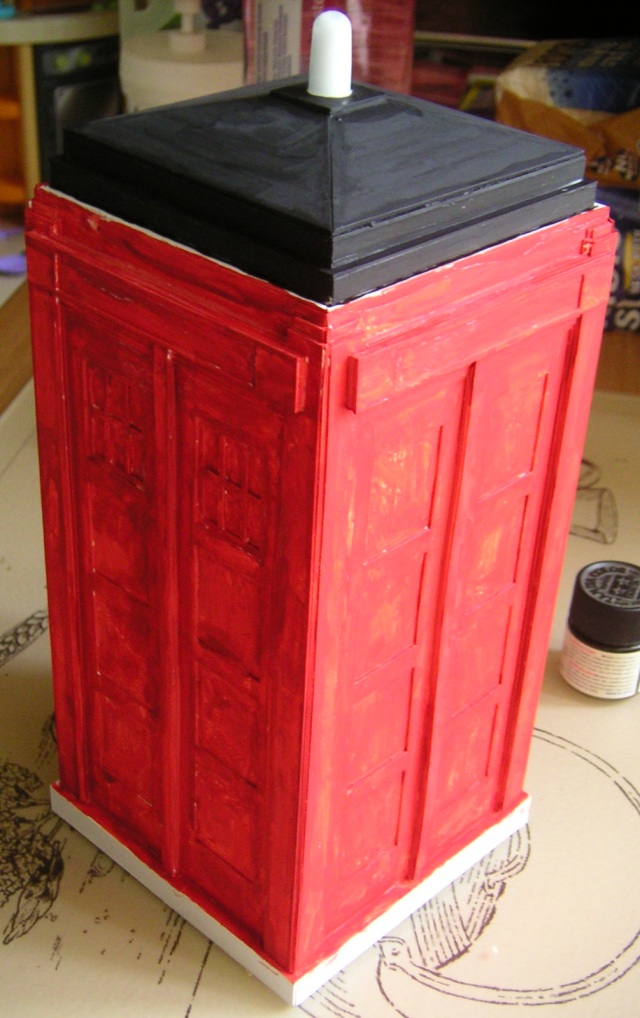
They always look really good at this stage, and then you have to go and ruin
it all by slopping paint all over it.
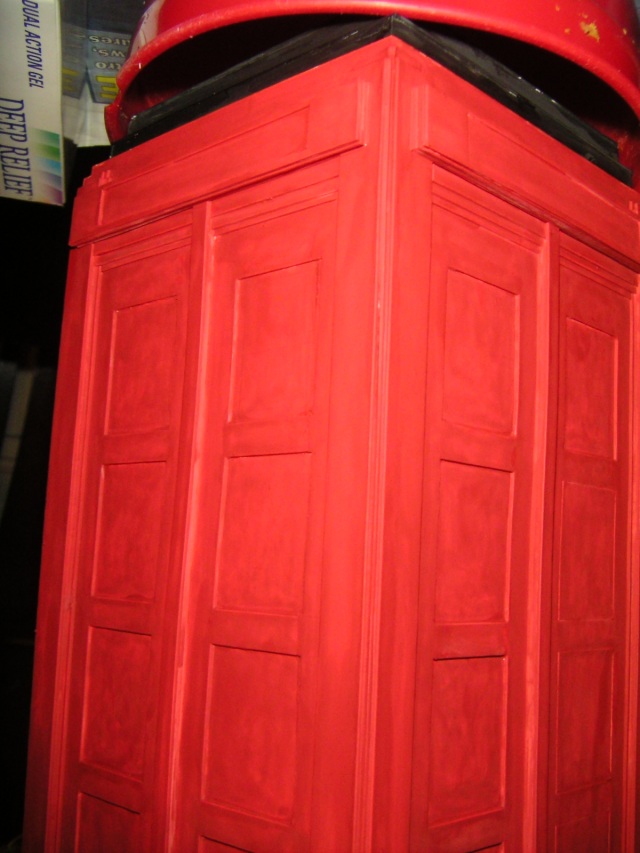
Like picture 2 above. These are both matt colours and I intend to
seal it with matt varnish. This is only the first coat, so hopefully it will
look better when finished. Hopefully...
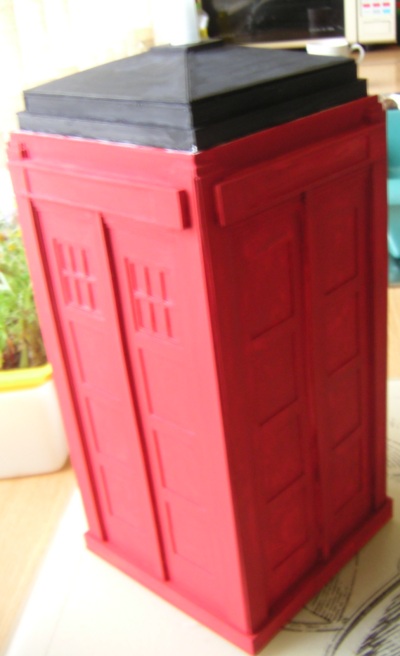
Thankfully it does look better after 3 coats. If Picture 3
above looks unusual it's because it's upside down, resting in a tupperware
microwave pot. I've just done the base.
This Web Page Created with PageBreeze Free HTML
Editor