Bad Wolf Build - Page
2
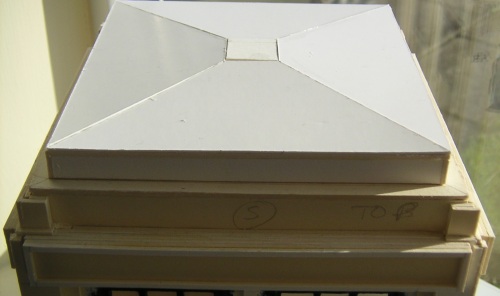
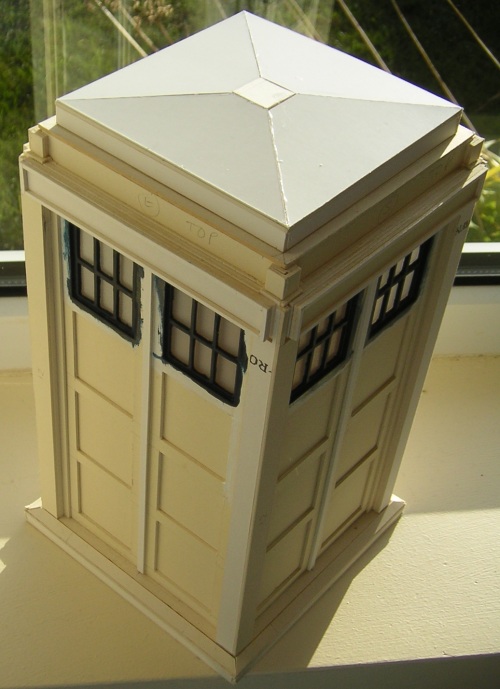
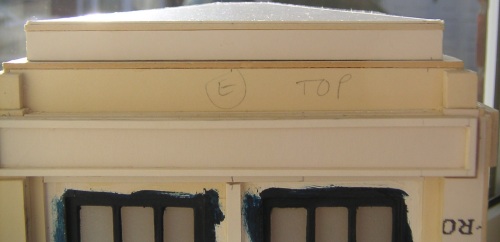
The stacked roof is now on, so it'll
soon be time to paint. However, before I get down to the old Royal Blue
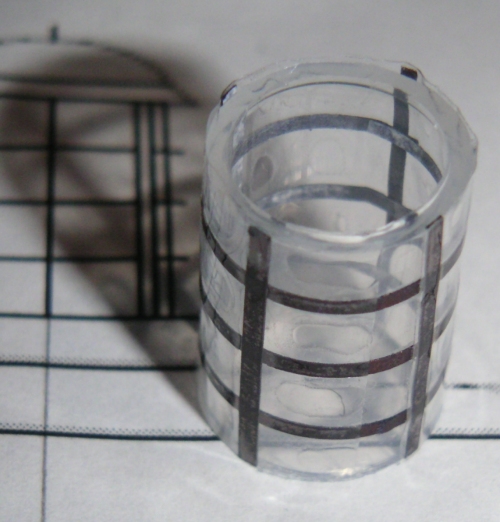
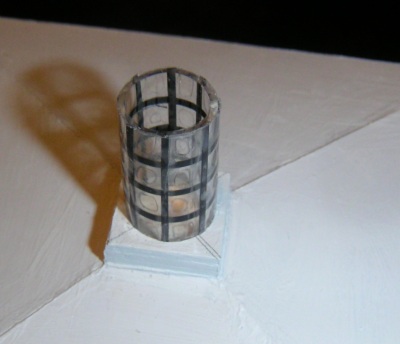
acrylic, there's still the matter of the lamp to sort out. The framework around the NST's lamp is quite unlike any
other version of the prop, but I think I've had an idea of how to work it.
I use strips of black tape, and then cover the whole thing with sellotape to
hold it down. As usual, a chopped-down biro lid helps.
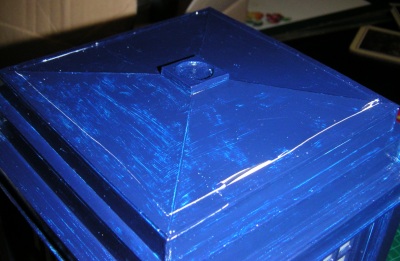
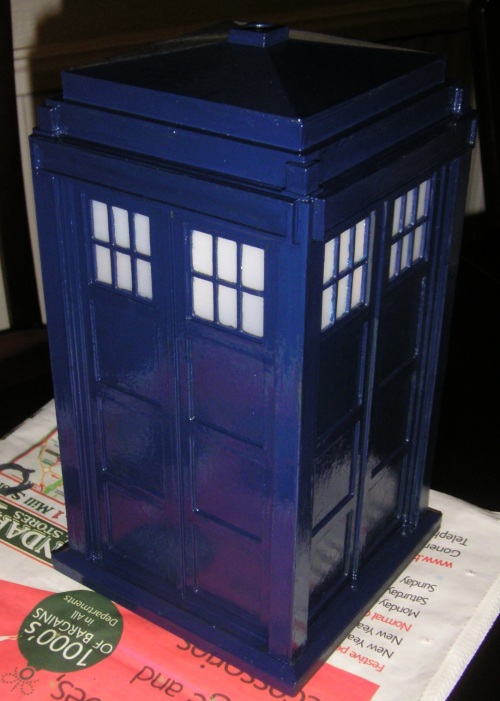
Meanwhile, back at the box, it's always fun when
you start slapping tons of blue paint on a
model.
Unfortunately, after completing two full coats, I found a problem.
I'd always wondered about the pitch of the roof. It looked a bit shallow
to me, but if that's what the plans say then they must be right. However,
whilst browsing the forum, I noticed a post from the originator of the plans
admitting that he'd got the roof wrong, and it should actually be twice as
high!
THE
REPAIR.
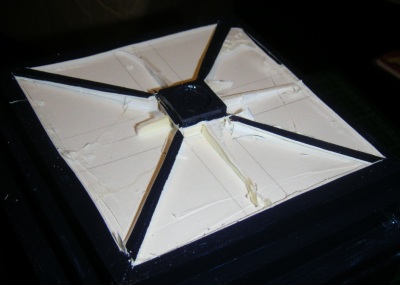
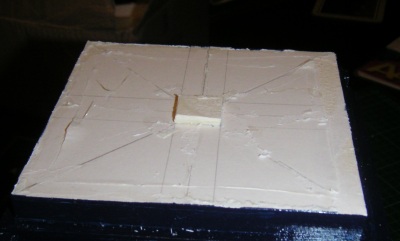
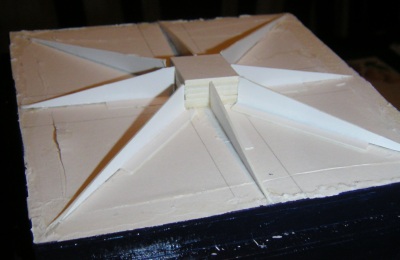
First thing to do
is slice off the old roof. Then carefully remove as much of the old glue and card as possible. It
doesn't matter too much if I rip the top because it'll be covered anyway.
The struts have to be replaced as they were solidly glued to the underside of
the roof. This method gives the roof
stability, but also guide-lines for measuring and gluing.
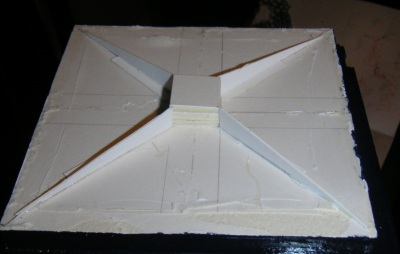
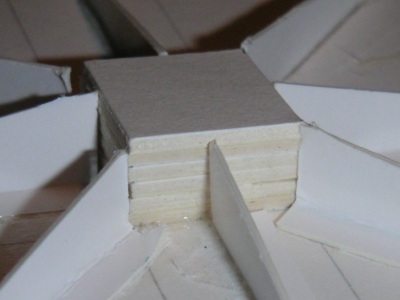
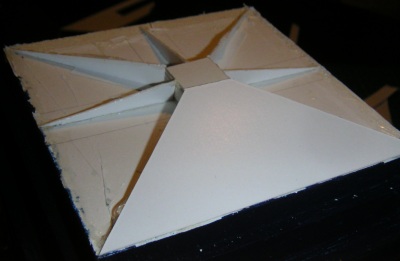
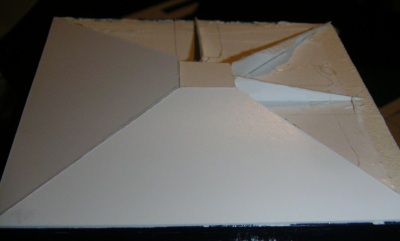
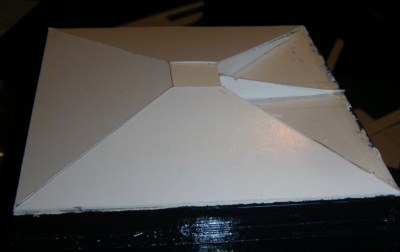
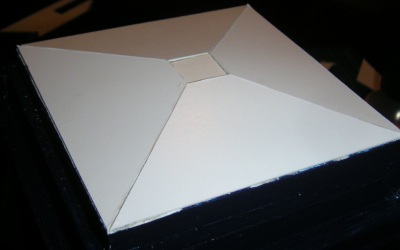
A built-up support for the lamp also
adds further stability, and after a false start when I make the panels slightly
too wide at the base, I finally get four that fit. Here they
go.
Now just to wait for the glue to set, and I can
repaint the roof. Here's the template for the roof
signs.

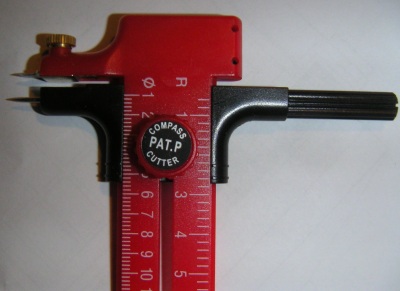
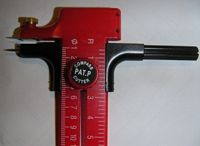
This is one the handiest
tools you can have for card modelling. Like a pair of compasses, but it
slices a circle instead of just drawing one.
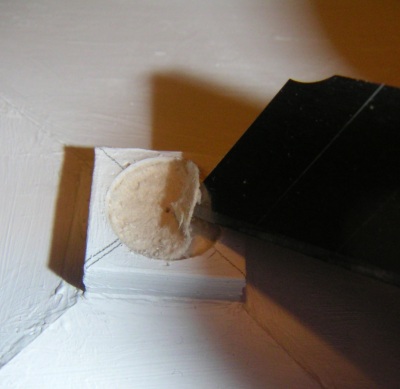
Pictures 1 &2
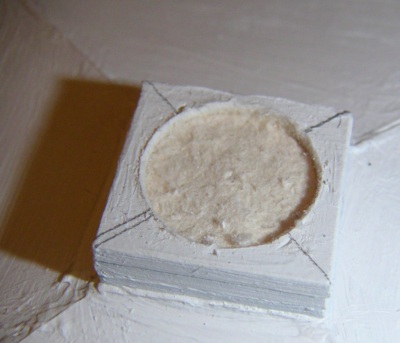
below - Now that the lamp base is on, I can cut out a circular "fitting" for the
lamp to nest in. As
long as you're careful you can slice quite deep. Then use a knife to
gently tease the cut layers of card off.
Picture 3 - Since the base of
my lamp wasn't cut completely straight, I can use the fitting to jiggle it about
until the lamp is vertical and then let the solidifying glue take the
slack. This is just for reference, I won't glue it until the roof is
completely painted.
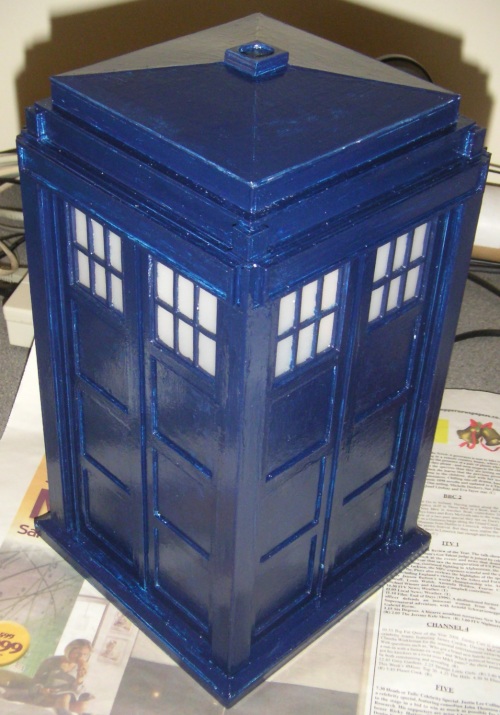
Jan 3rd 2010 - Primer was put on
last night. First coat of blue this morning. Yes, lots of little
white specks still to cover.
This Web Page Created with PageBreeze
Free HTML Editor